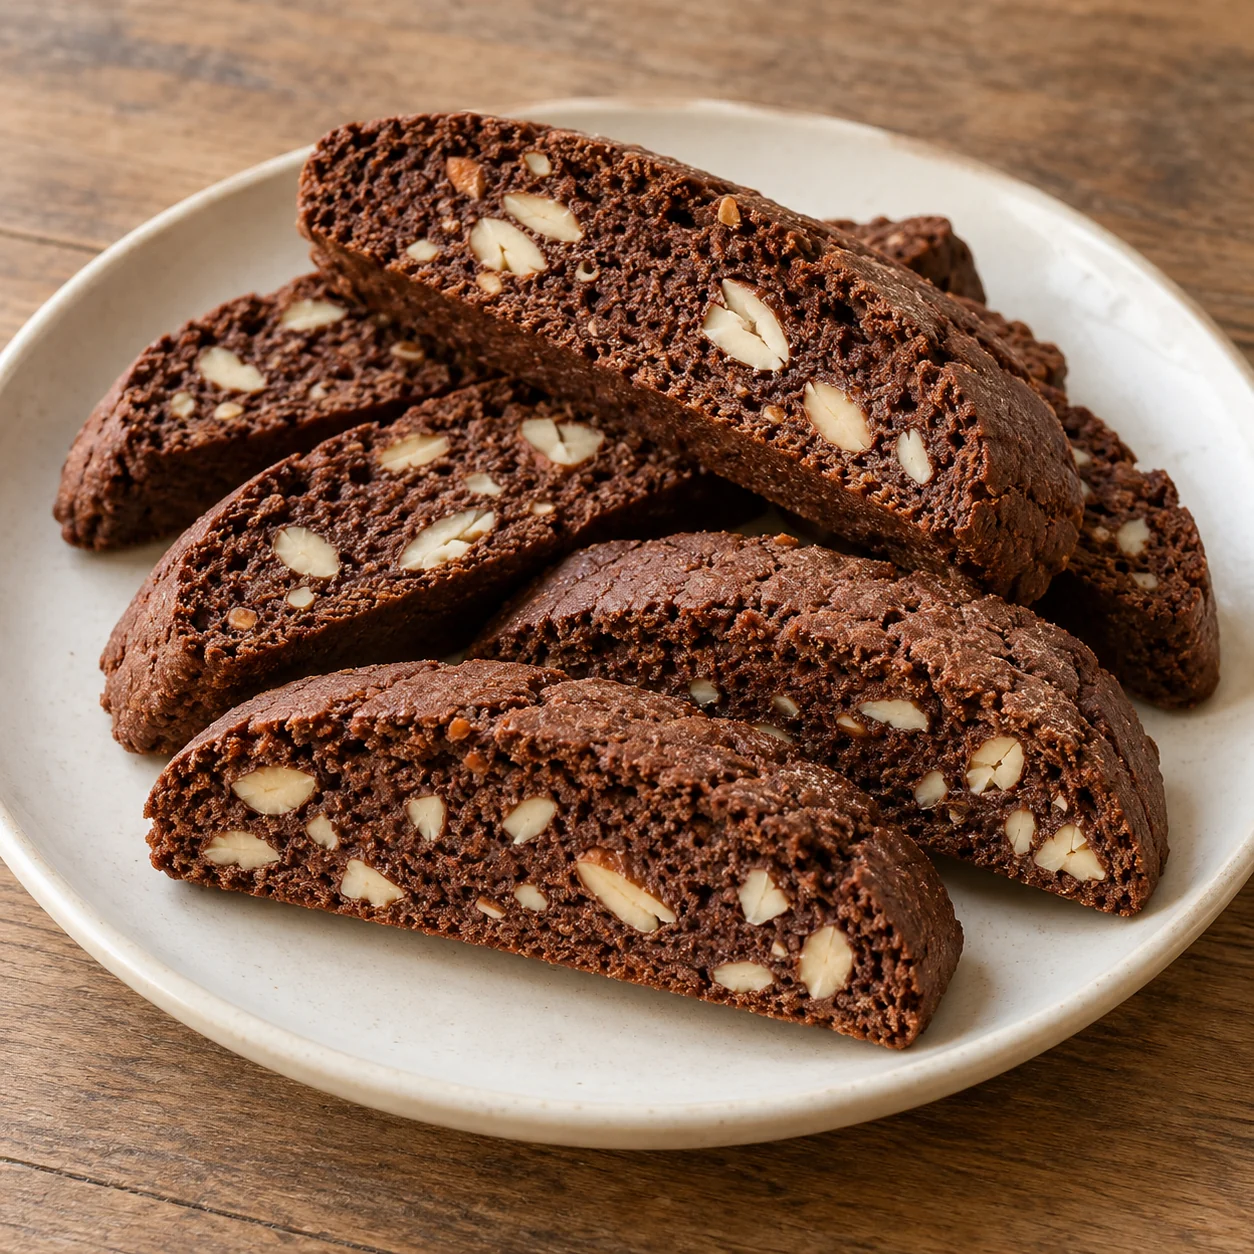
Biscotti develop their crisp texture through two bakes. The first turns a shaped dough log into a firm loaf that can be cut; the second dries the exposed faces of each slice. These cocoa-and-almond biscotti make twenty-four pieces, with two per serving. Their elapsed time includes the rest before slicing and a complete final cool. The allowance includes a brief butter-softening interval while you measure ingredients; a cold room may require longer. Prepare a cooling rack before the first tray goes into the oven.
Almond & cocoa biscotti makes 12 servings, with 2 hr 45 min estimated total time. View the standalone recipe page.
Distribute cocoa and almonds through the dough
Whisk the cocoa with the flour, baking powder and salt so dark lumps do not remain hidden in the dough. Beat the softened butter and sugar together before incorporating the eggs and vanilla. Stir in the dry mixture only until combined, then distribute the chopped almonds. Use plain raw nuts, not salted snack almonds or nuts coated in oil. Keep the pieces coarse enough to show in the cut faces but avoid leaving the whole batch as large intact nuts that make slicing more awkward. Do not taste raw dough.
Shape two similar logs with damp hands
Divide the dough evenly before shaping so one log does not finish much earlier than the other. Lightly damp hands help manage stickiness without adding unmeasured flour. Use the length, width and height in the card as guides, smoothing the tops and evening the ends. Leave the stated gap between logs because they spread during baking. A very thick center may remain underdone while thin ends become hard. The parchment supplies release without extra pan butter, keeping the ingredient amount consistent with the nutrition estimate.
Let the first bake establish a firm structure
Bake until the logs are set through and feel firm enough to support careful handling. Dark cocoa makes color a less useful cue than it would be in a pale cookie, so do not wait for obvious golden browning. Let the logs rest on the sheet for the specified interval before moving them to a board. Cutting immediately can compress the warm crumb and drag pieces out around the nuts. Waiting for the planned short cool gives the structure time to firm without leaving the logs until they become fully dry and brittle.
Cut equal slices and expose both faces
Use a serrated knife with a gentle sawing motion instead of forcing a blunt blade straight through. Cut each log into twelve pieces, including its ends, so the full dough is represented in the stated yield. Arrange the slices on their cut sides with enough space to turn them. Lower the oven as directed for the drying stage. Turn each slice halfway through so both broad faces receive heat. If a few crumbs separate, keep them with the batch rather than treating their removal as a precise nutrient deduction.
Finish cooling before testing crispness or storing
Move the twice-baked slices onto a rack and allow air around them. Warm biscotti may still feel less crisp than they will after cooling, so assess the texture only once they are fully cold. Packing them warm traps moisture inside the container and can soften the entire batch. Divide into twelve portions of two pieces, including end slices and any crumbs in the allocation. There is no chocolate coating or sugar dusting in this version. Wheat, eggs, milk and almonds are present, and a change of nuts or flour would require new ingredient accounting.
Common questions
Why did the log crumble when I cut it?
The first bake may have gone too far, the log may have become completely cold and brittle, or the knife may be crushing rather than sawing. Follow the short cooling interval and use a sharp serrated blade.
Why did the biscotti soften in their container?
They may have been packed before cooling fully, or residual moisture may remain in thicker slices. Let them cool completely; if needed, briefly re-dry in a low oven and cool again before closing the container.
Technique & food-safety references
These primary references support the technique, safety and storage guidance. The recipe and cooking explanations are original Recipe Pinboard content.