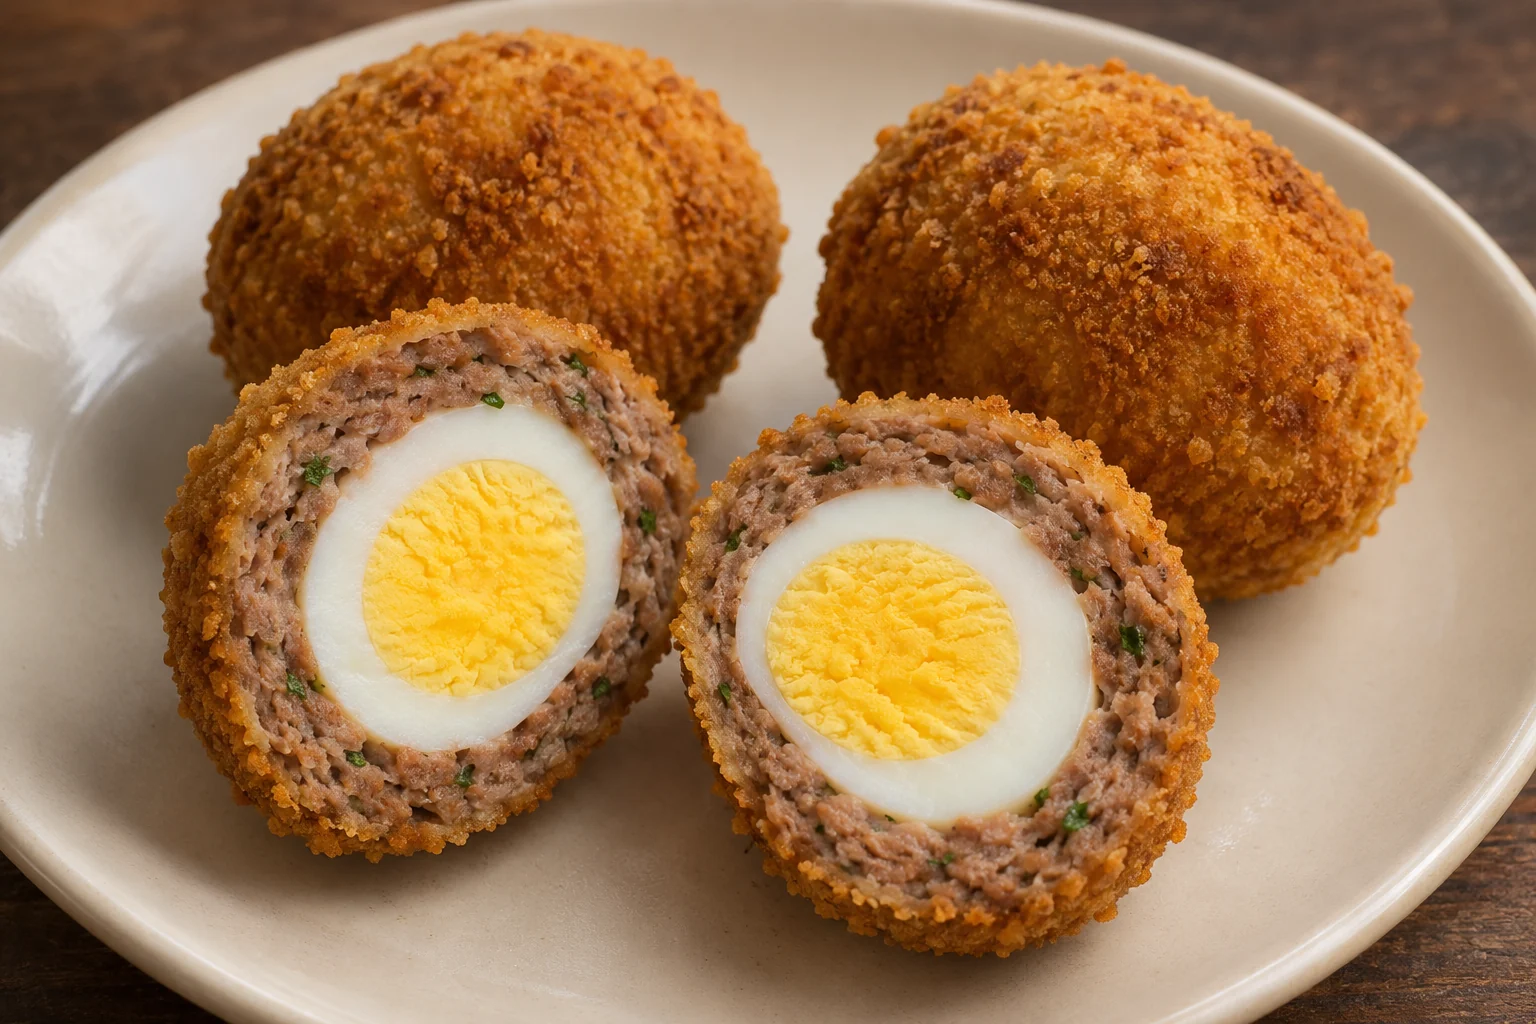
These Scotch eggs surround fully cooked eggs with a seasoned ground-beef layer and a fine breadcrumb crust. Baking gives a different exterior from deep frying, so the measured oil is brushed over the coating to help it color. The important temperature check is in the beef surrounding each egg. A hot, already cooked egg center cannot tell you whether every part of that raw meat layer has finished cooking.
Baked beef Scotch eggs makes 4 servings, with 2 hr 10 min estimated total time. View the standalone recipe page.
Cool and dry the hard-cooked centers
Cook the four center eggs until their whites and yolks are firm, then give them the full ice-water cooling interval before peeling. Handle them gently so the whites remain intact. Pat the peeled surfaces dry: water on an egg makes the meat harder to hold in place and can create a slippery pocket during wrapping. Keep the separate beaten egg for coating refrigerated until needed. Prepare the centers before mixing the beef so the seasoned raw meat is not waiting at room temperature while hot eggs slowly cool.
Wrap with an even layer rather than a thick seam
Mix the beef, mustard, parsley and seasonings just until evenly distributed and slightly cohesive. Divide it into four portions before flattening each on parchment. Place an egg in the middle and use the paper to help bring the meat around it. Close the joins with gentle pressure, then smooth the surface so there is no very thick mound on one side and a bare patch on the other. The brief refrigerated rest helps the wrapped shapes firm up before breading. Do not omit it by squeezing the meat excessively tightly instead.
Set up the coating before handling raw meat again
Arrange the flour, beaten egg and crumbs in separate shallow dishes, with the prepared baking tray nearby. Apply a thin flour layer, then egg, then crumbs, turning each piece carefully rather than pressing hard enough to distort its shape. Keeping one hand mostly for the dry coating reduces clumps on your fingers. Brush the measured oil over the crumb surfaces as evenly as practical. Discard contaminated coating remnants afterward; they have contacted raw beef or raw egg and are not a ready-to-eat garnish for the finished plate.
Check several places in the beef layer
Bake on the lined rimmed tray and turn at the stated point so one side is not the only surface receiving direct tray heat. The time range is a guide because ovens and the exact thickness of the meat vary. Insert an instant-read probe from the side into the beef, avoiding the egg center, and check several places on each Scotch egg. Ground beef must reach 160°F. If any measured spot is cooler, continue cooking and check again. A golden crust or brown-looking meat is not a substitute for the thermometer reading.
Rest briefly and cut without crushing the crust
Let the cooked eggs stand for five minutes before slicing. Use a sharp knife with a controlled sawing motion through the crumbs, then finish through the firm center without pressing the whole oval flat. The yolk should be fully set, not runny. Refrigerate leftovers promptly in a covered shallow container within two hours, or one hour above 90°F, and use within three to four days. Reheat leftovers to 165°F. The crust softens somewhat in storage, so expect a different texture from the freshly baked version even when the reheating temperature is correct.
Common questions
Why does the meat split away from the egg?
A wet center, an uneven wrapping layer or an incompletely closed seam can contribute. Dry the cooled eggs, distribute the beef evenly and seal the joins before chilling. Avoid making one spot extremely thin while stretching the meat around the opposite side.
Can I use a soft-boiled center instead?
This recipe is designed around fully cooked centers and a ground-beef layer checked to 160°F. A soft-center version needs its own timing and handling approach; simply shortening the initial egg cooking does not guarantee a predictable runny yolk after baking.
Technique & food-safety references
These primary references support the technique, safety and storage guidance. The recipe and cooking explanations are original Recipe Pinboard content.