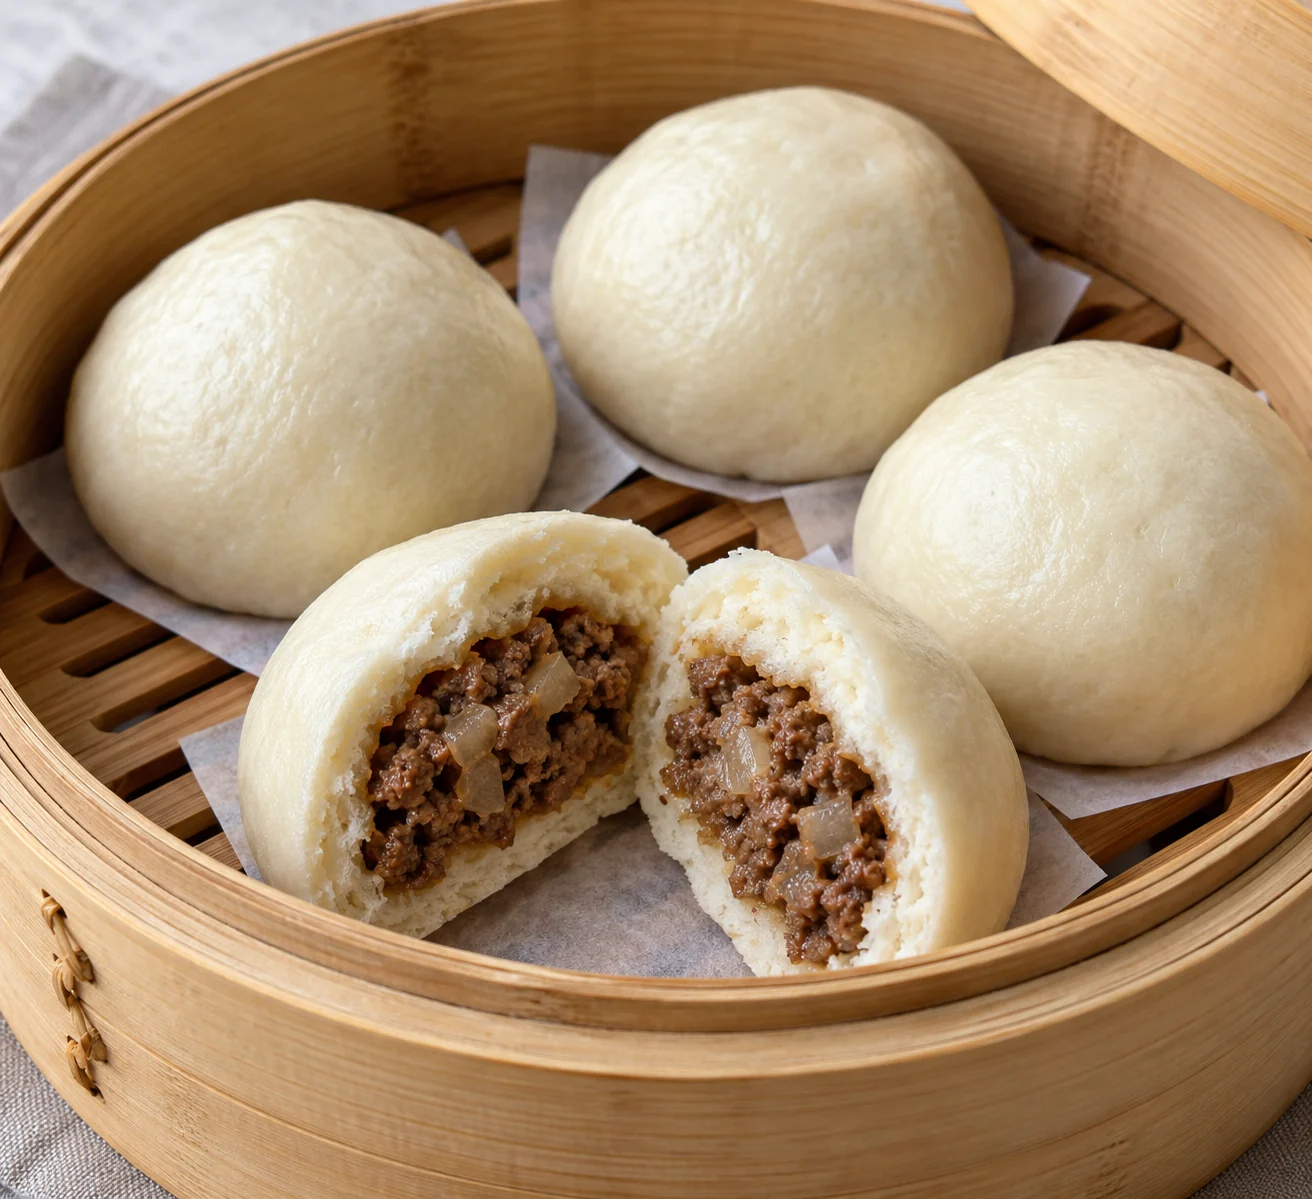
These buns combine a soft yeast wrapper with a fully cooked, chilled beef filling. The meat is cooked before wrapping so the filling can be seasoned and thickened without leaving free liquid against the dough. Final steaming still needs a verified hot center. The recipe makes twelve buns in two batches of six; three buns form a meal portion. Plan for filling preparation, cooling, dough rising, shaping and both steaming cycles.
Beef & onion steamed buns makes 4 servings, with 5 hr 30 min estimated total time. View the standalone recipe page.
Cook and chill the filling first
Break the beef into small crumbles so it fits evenly inside the buns. Check the ground meat's safe temperature rather than relying only on the disappearance of pink color. Keep the rendered fat and juices in the pan. The measured cornstarch slurry binds them into a coating that is easier to enclose. Spread the finished mixture in a shallow container and cool it promptly, then refrigerate. Do not leave a deep skillet of filling on the counter while the dough rises.
Use the dough rise to finish cooling
The filling can chill while the yeast dough is mixed, kneaded and left to expand. Keep the measured dough water separate from the slurry water so neither stage receives the other's allocation. Knead until the dough is smooth, then cover it to prevent drying. It should become roughly doubled during the first rise, but a cool room can extend the time. Keep the filling refrigerated until wrapping begins; warm filling softens the dough and makes sealing more difficult.
Divide both dough and filling before wrapping
Twelve similar wrappers and twelve similar filling mounds make assembly more predictable. Roll each wrapper with a somewhat thicker center and a thinner edge. The center supports the filling while the edge gathers into a seam. Use the reserved handling flour sparingly and keep it with the wrappers. Avoid putting filling on the sealing edge, where moisture and fat can prevent the dough from sticking to itself. The finished buns are placed seam-side down, so elaborate decorative pleating is unnecessary.
Manage the two batches deliberately
Keep the second group covered and refrigerated while the first group completes its final proof. Bring the second group out to proof while the first steams. This avoids leaving all twelve buns at room temperature through repeated waiting periods. Leave the specified gaps in the steamer so the buns can expand without joining. Small individual parchment squares prevent sticking without blocking the whole basket. The boiling water must remain below the buns, and the lid should fit well enough to retain steam.
Verify the middle and open the lid safely
Start timing the steaming stage with a steady supply of steam, not a cold pot. Check a filling center for the required temperature and extend cooking if needed. The wrapper should also be cooked through rather than gummy near the meat. After switching off the heat, allow the short covered rest before lifting the lid away from your face. Replenish the water safely before the next batch and bring it back to a simmer. Smaller steamers require additional batches and a longer overall schedule.
Common questions
Why did a bun leak or split at the seam?
Filling on the edge, a thin torn wrapper or a weak pinch can prevent a secure seal. Keep the rim clean, support the center while gathering the dough and pinch firmly. Dividing the filling evenly also prevents the last few wrappers from being overloaded.
Since the beef was cooked first, can I shorten steaming?
No. The filling is chilled before wrapping, and the surrounding dough is uncooked. The final stage must cook the wrapper and bring the center back to the stated safe temperature. Use both the texture check and a thermometer rather than assuming pre-cooking removes that requirement.
Technique & food-safety references
These primary references support the technique, safety and storage guidance. The recipe and cooking explanations are original Recipe Pinboard content.