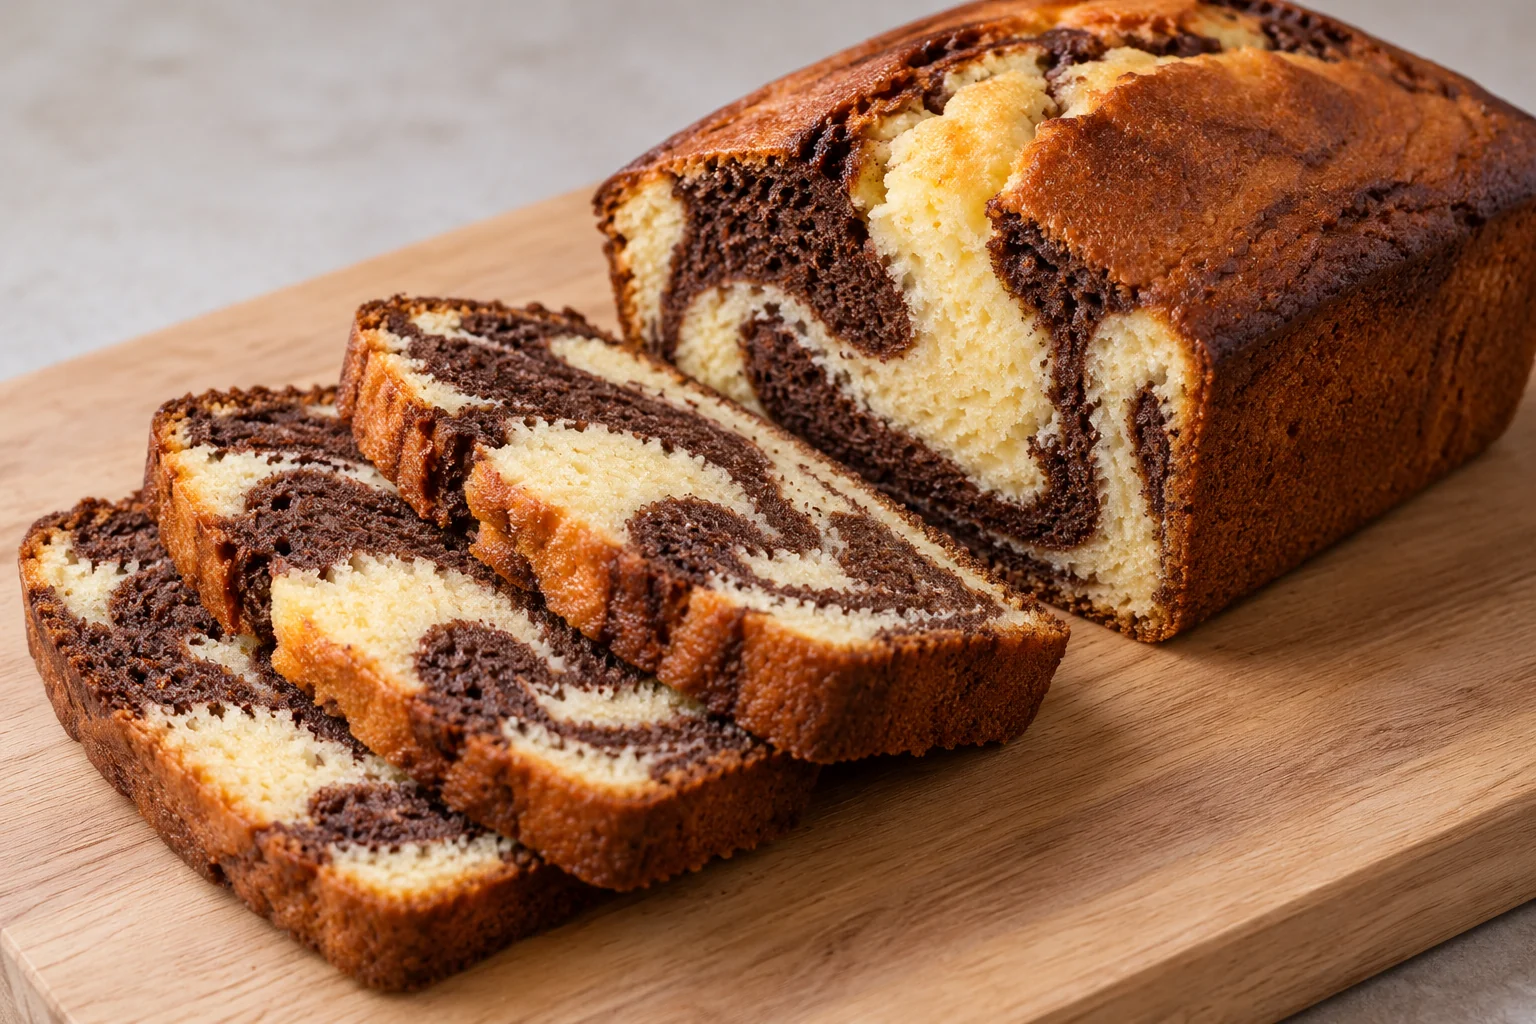
The pattern in this loaf comes from a small amount of movement between two related batters. Most of the mixture stays vanilla, while one third receives a cocoa paste. Alternate dollops and make only a few broad curves to preserve the contrast. A beautifully swirled top is not enough by itself: the loaf also needs time to bake through and cool before slicing. The schedule includes butter softening and at least an hour of rack cooling. Ten equal slices make the stated ten servings.
Cocoa & vanilla marble cake makes 10 servings, with 3 hr 30 min estimated total time. View the standalone recipe page.
Prepare the pan and soften butter before mixing
Use the specified metal loaf pan and line it with parchment, leaving tabs for lifting. The recipe does not include extra pan-greasing butter. Cut the measured butter into cubes and allow it to soften until pliable rather than melting it. A cold room may extend that wait. While preparing the other ingredients, mix cocoa with the measured hot water and let the paste cool. This disperses dry cocoa before it reaches the cake batter and avoids pockets that would need excessive stirring to break apart.
Build an even base batter
Beat butter and sugar until lighter, scraping around the bowl so a dense layer is not left at the bottom. Add eggs gradually, mixing between additions, then vanilla. Whisk flour, baking powder and salt separately to distribute the leavening. Fold the dry mixture into the butter mixture in stages, alternating with milk. Stop once the ingredients are combined. Beating vigorously after flour is added can make the crumb tougher. Do not taste the raw batter, which contains both uncooked flour and eggs.
Make the cocoa portion without losing ingredients
Transfer one third of the base batter to a second bowl, then fold in the entire cooled cocoa paste. The extra water in that paste is already part of the formulation. Scrape both the cocoa bowl and mixing bowl carefully when filling the pan so the complete ingredient batch becomes the loaf. Do not add chocolate chips to deepen the color or a splash of milk because one portion looks slightly different. Those changes would affect texture and nutrients. The cocoa and vanilla portions are meant to contrast while sharing the same underlying batter.
Alternate dollops and stop swirling early
Place pale and dark dollops in alternating positions rather than pouring one complete layer over the other. Draw a table knife through the batter in three broad curves, then stop. Repeated stirring can turn the loaf uniformly brown and remove the marble effect. Keep the knife movement gentle so the parchment is not pulled away from the pan. Level the surface without vigorously tapping or compressing it. The finished pattern will vary from slice to slice; the illustration shows a plausible result, not an exact design that every loaf must reproduce.
Check the center and cool before cutting
Start checking within the baking window, but judge the middle rather than only the crust. The center should spring back lightly and a skewer should come out without wet batter. If the top colors too quickly, tent loosely with foil while the middle finishes. Let the loaf stand in its pan for fifteen minutes before lifting it to a rack, then cool for at least another hour. Cutting too early can squash the tender crumb. Wrap only after cooling fully, and store briefly at room temperature or freeze for longer keeping.
Common questions
Why did the cake turn one muddy color?
The batters were probably mixed too thoroughly during swirling. Use alternating dollops and only the few broad knife passes in the card. Small irregular patches are preferable to stirring until the colors look evenly distributed.
Why is the outside done while the middle is wet?
The pan may be smaller or deeper than specified, or the oven may brown the surface quickly. Use the stated pan and tent the top when needed. Continue baking until the center passes the batter check rather than stopping because the crust looks dark.
Technique & food-safety references
These primary references support the technique, safety and storage guidance. The recipe and cooking explanations are original Recipe Pinboard content.