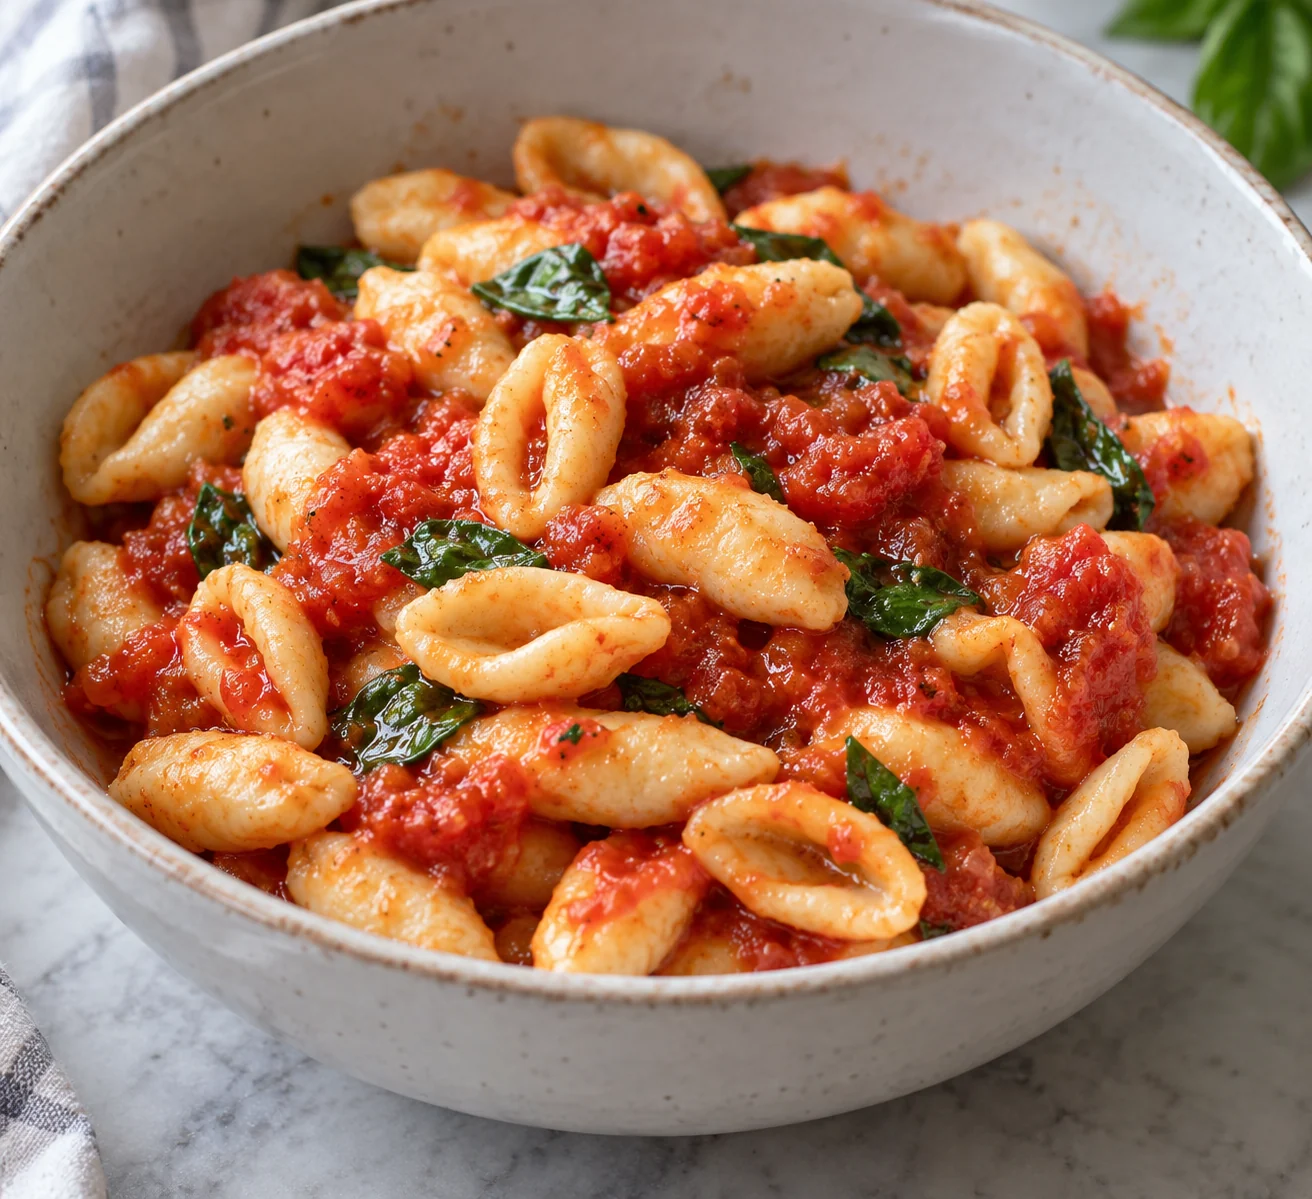
Cavatelli in this recipe are small pieces of flour-rich pasta dough pressed into hollow curls. They are different from delicate ricotta gnudi: the dough is kneaded, rested and shaped before boiling. Ricotta contributes moisture and tenderness, while the flour provides enough structure for the pieces to hold their grooves. The full dough and tomato sauce make four servings. There is no claim of a measured cooked pasta weight, and the modest shaping-flour allowance is already included in the ingredient list rather than treated as an invisible extra.
Hand-pressed ricotta cavatelli with tomato makes 4 servings, with 2 hr estimated total time. View the standalone recipe page.
Start with the specified ricotta state
Use whole-milk ricotta as sold, stirred smooth before weighing, with no visible pool of separated whey. This formulation does not drain the cheese or estimate nutrients in discarded liquid. A very wet product can make the dough harder to shape, so choose a firm ricotta rather than compensating with unlimited flour. Check vegetarian enzymes if relying on the vegetarian tag. Mix the ricotta with the measured egg and salt before adding flour, so the moisture is distributed rather than concentrated in sticky pockets.
Knead the dough and allow the full rest
Reserve the small shaping allowance first, then incorporate the remaining flour into the cheese mixture. Knead until the dough becomes cohesive and firm. It should not resemble a soft spoonable dumpling mixture. Cover it during the thirty-minute rest so its surface does not form a dry skin. That interval gives the flour time to hydrate and makes rolling easier. If the dough feels sticky initially, wait through the rest before deciding it needs the measured dusting flour. Do not add an unrecorded handful to make the problem disappear.
Roll small ropes and press an open groove
Work with one portion at a time and keep the remaining dough covered. Roll a rope of reasonably even thickness, then cut similarly sized short pieces. Press with two fingertips and drag toward you so the dough curls around a shallow hollow. You are thinning the center, not sealing a tight tube. Thick solid lumps take longer to cook and can remain dense inside after their surfaces soften. Place pieces separately on parchment so they do not join into clusters while the rest of the batch is shaped.
Prepare the sauce while the dough rests
Warm garlic briefly in the measured oil without browning, then add all the crushed tomatoes and their juices. Simmer until the sauce is lightly thickened. It should coat the small pasta hollows rather than bury them in a very dry paste. Keep it warm while the pasta cooks. The basil is added at the end, and there is no Parmesan garnish in this formulation. Scrape the sauce pan when portioning so the full measured oil and tomato mixture are divided among the four bowls.
Check the interior after floating
Boil the cavatelli in two batches with enough room to move. Stir gently at first to release pieces from the bottom. Floating is a useful cue, but continue cooking as directed and cut one open to inspect the center. It should not contain dense wet dough. Transfer cooked pieces with a slotted spoon into the sauce and use the whole batch. Minor shaping and boiling losses are not precisely measured, so the estimate counts the full ingredient inputs. Refrigerate leftovers promptly, use within three to four days and reheat to 165°F.
Common questions
Why are my cavatelli heavy in the middle?
The pieces may be too thick, tightly rolled or removed as soon as they float. Keep them small, create an open hollow and check a cut piece after the additional cooking time. Larger pieces need longer than the smallest ones.
Do I need a pasta machine or ridged board?
No. This version uses fingertips on a clean work surface. The useful feature is the hollow that lets the center cook and holds sauce. Decorative ridges are optional and are not required by the recipe or its illustration.
Technique & food-safety references
These primary references support the technique, safety and storage guidance. The recipe and cooking explanations are original Recipe Pinboard content.