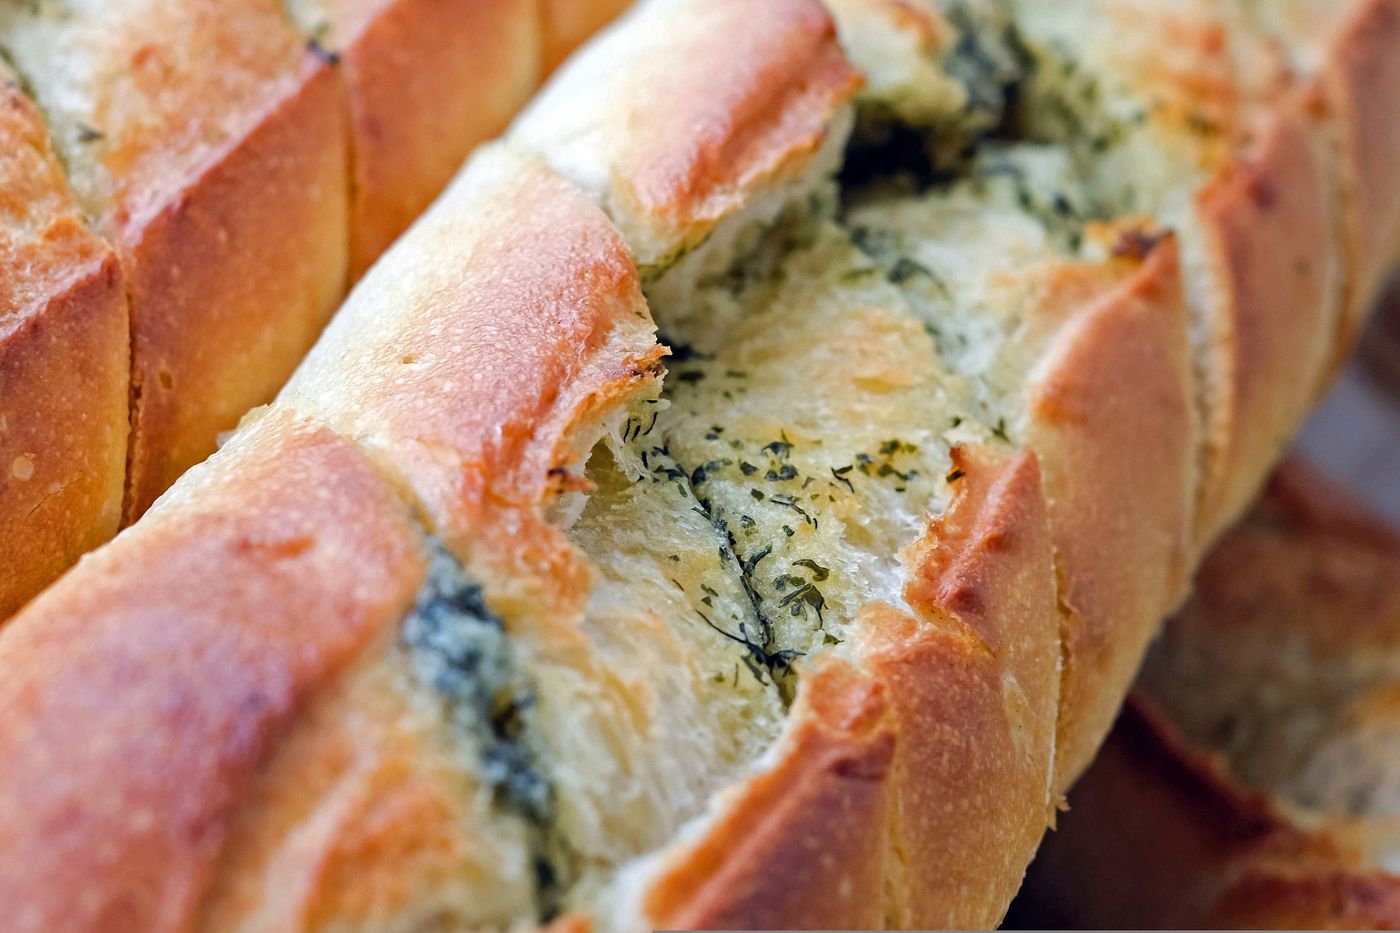
This herb garlic bread starts with a ready-baked crusty loaf, so the oven is warming and crisping rather than baking raw dough. The main choice is where to put the heat: inside a loose foil packet first, then around the uncovered edges. That sequence gives the butter time to melt before the crust becomes too dark.
Herb garlic bread makes 8 servings, with 20 min estimated total time. View the standalone recipe page.
Choose the loaf before dividing the butter
The recipe is sized for one long loaf weighing about 400 g and makes eight portions. A similarly shaped loaf keeps the butter layer and warming distance reasonably consistent. A much heavier, round loaf has a deeper middle; the same clock time should not be treated as proof that its center is warm.
Use a serrated knife to split the loaf lengthwise while leaving the base attached as a hinge. Open it gently instead of forcing the two sides flat and tearing the bottom. Keeping the hinge lets you close the buttered faces together during the first bake, then open them for the finishing stage.
Mix a spread that reaches the corners
Soften the 80 g butter until a spoon presses through it easily, but keep it as a spread rather than a puddle. Stir in the finely minced garlic, chopped parsley, salt and pepper. Large garlic pieces concentrate their bite in one mouthful; fine pieces distribute more evenly across the bread.
Divide the mixture between both cut faces and work it toward the ends with the back of a spoon. A thin, even coating is more useful than a heavy mound in the middle. Do not add cheese simply because some garlic bread recipes include it: this version gets its finish from parsley and garlic butter.
Warm under foil before crisping uncovered
Heat the oven to 400°F (200°C) before the loaf goes in. Set the loosely wrapped bread on a baking sheet so escaped butter has somewhere to land. The ten-minute wrapped stage warms the enclosed bread and melts the spread; tightly compressing the packet is unnecessary and can squash a soft loaf.
Open the packet carefully because warm vapor can escape. Uncover the loaf for the final five minutes, keeping the buttered surfaces exposed and the foil out of their way. Use the same oven setting. This recipe does not require a broiler, which would brown exposed herbs much faster than the stated oven finish.
Read the edges and troubleshoot the center
Look for crisp outer edges and melted butter distributed across the cut crumb. If an unusually thick loaf remains cool inside, close it loosely in foil again and give it more warming time. More uncovered browning is not the right response to an under-warmed middle because the outside can become hard first.
If the edges color too quickly, shield those areas with foil while the interior catches up. A pool of butter on the sheet may indicate uneven spreading or an especially open crumb, rather than a need for more butter. Spoon any clean melted butter back onto the bread before dividing the loaf.
Portion while warm and plan leftovers
Transfer the hot loaf to a stable board and use a serrated knife to cut eight portions through the hinged base. Saw gently rather than pressing down hard. The planned twenty minutes includes a short preparation period and fifteen minutes in the oven; a slow preheat or a different loaf may extend the total.
Serve while the edges are crisp, since covering warm bread at the table traps steam and softens them. Refrigerate leftover prepared garlic bread promptly in a covered container. Rewarm it in foil to protect the crumb, then uncover briefly for texture, checking it rather than assuming the original bake time still applies.
Common questions
Should I melt the butter first?
No. Softened butter is easier to distribute evenly without immediately soaking one patch of bread. If it has melted, let it cool until spreadable before combining and spreading.
Why is my garlic bread dry at the ends but cool in the middle?
The loaf may be thicker or larger than the roughly 400 g long loaf specified. Use the foil-wrapped stage to warm the center; shield the ends instead of extending uncovered browning.
Technique & food-safety references
These primary references support the technique, safety and storage guidance. The recipe and cooking explanations are original Recipe Pinboard content.