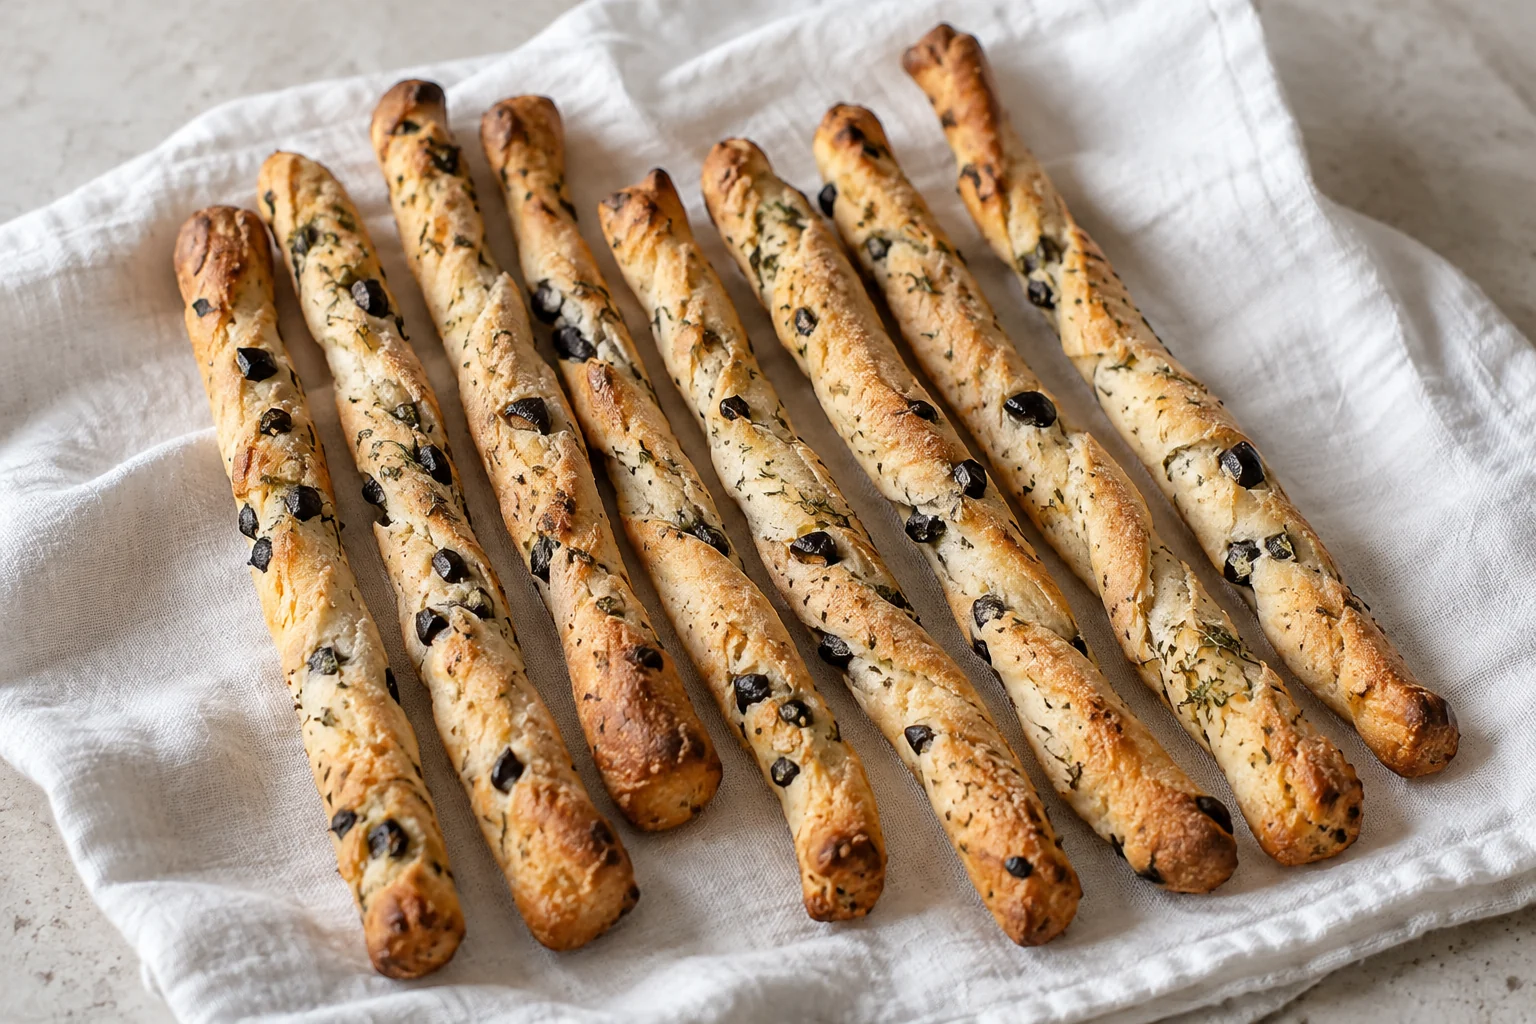
These slim breadsticks rely on a straightforward yeasted dough rather than extra flour rolled into the surface. Finely chopped, dried olives bring flavor without tearing the strands. Similar thickness matters more than perfect straightness: it is what lets the centers bake through before the ends become too dark.
Olive & thyme breadsticks makes 8 servings, with 2 hr 35 min estimated total time. View the standalone recipe page.
Keep the flour and water ratio intact
The dough uses 300 g bread flour and 180 g water, with all water counted across the yeast mixture and final mix. Weigh both. A generic cup conversion can introduce enough flour to make the dough stiff and difficult to roll. Use lukewarm water rather than hot water, following the yeast package temperature guidance when provided. The small amount reserved for dissolving active dry yeast is part of the total, not an extra addition.
Prepare the olives before kneading
Drain and pat olives dry, then chop them finely. Wet olives add uncontrolled liquid; large pieces can break through the surface as a strand lengthens. Knead the plain dough until it becomes smoother before incorporating the olives. This lets the flour hydrate without sharp inclusions interrupting the early mixing. If the dough feels tacky, use a scraper and a short rest instead of dusting it repeatedly with flour that is absent from the recipe.
Watch expansion rather than the clock alone
The first rise is estimated at about an hour in a comfortably warm room. A cold kitchen, cool ingredients or less active yeast can extend that time. Look for a puffy mass that has roughly doubled, not just the end of a timer. Do not compensate for a cool room by putting dough against a very hot surface. The total time includes shaping, a second rest, baking and cooling; it is not a guaranteed fermentation schedule.
Make sixteen similar strands
Weigh the dough and divide by sixteen before rolling. Work from the center outward with light pressure, keeping the ends from becoming needle-thin. If a piece contracts each time you roll it, let it relax for five minutes and work on another piece. Leave gaps on both trays. Brush with the reserved oil rather than adding a separate unmeasured coating. The second rest allows the shaped strands to relax and puff before the hot oven sets their surfaces.
Bake, cool and understand sourdough changes
Rotate the trays to reduce the effect of oven hot spots. Remove individual thin sticks when ready instead of darkening them while thicker ones finish. Cooling uncovered lets steam escape; an airtight box while warm softens the crust. Sourdough starter is not a spoon-for-spoon replacement for dry yeast: it contributes flour and water as well as fermentation organisms. Its hydration and maturity change both the dough balance and timing. Use a sourdough-specific formula rather than labeling an improvised substitution as this recipe.
Common questions
Are these meant to snap like very thin grissini?
They are slim breadsticks with firm golden surfaces, but their final crispness depends on thickness and moisture. Cool fully before judging; a warm center can still feel soft.
How many are in one nutrition portion?
Two of the sixteen equally divided breadsticks make one of eight portions. A photograph may show several sticks together and does not define a serving.
Technique & food-safety references
These primary references support the technique, safety and storage guidance. The recipe and cooking explanations are original Recipe Pinboard content.