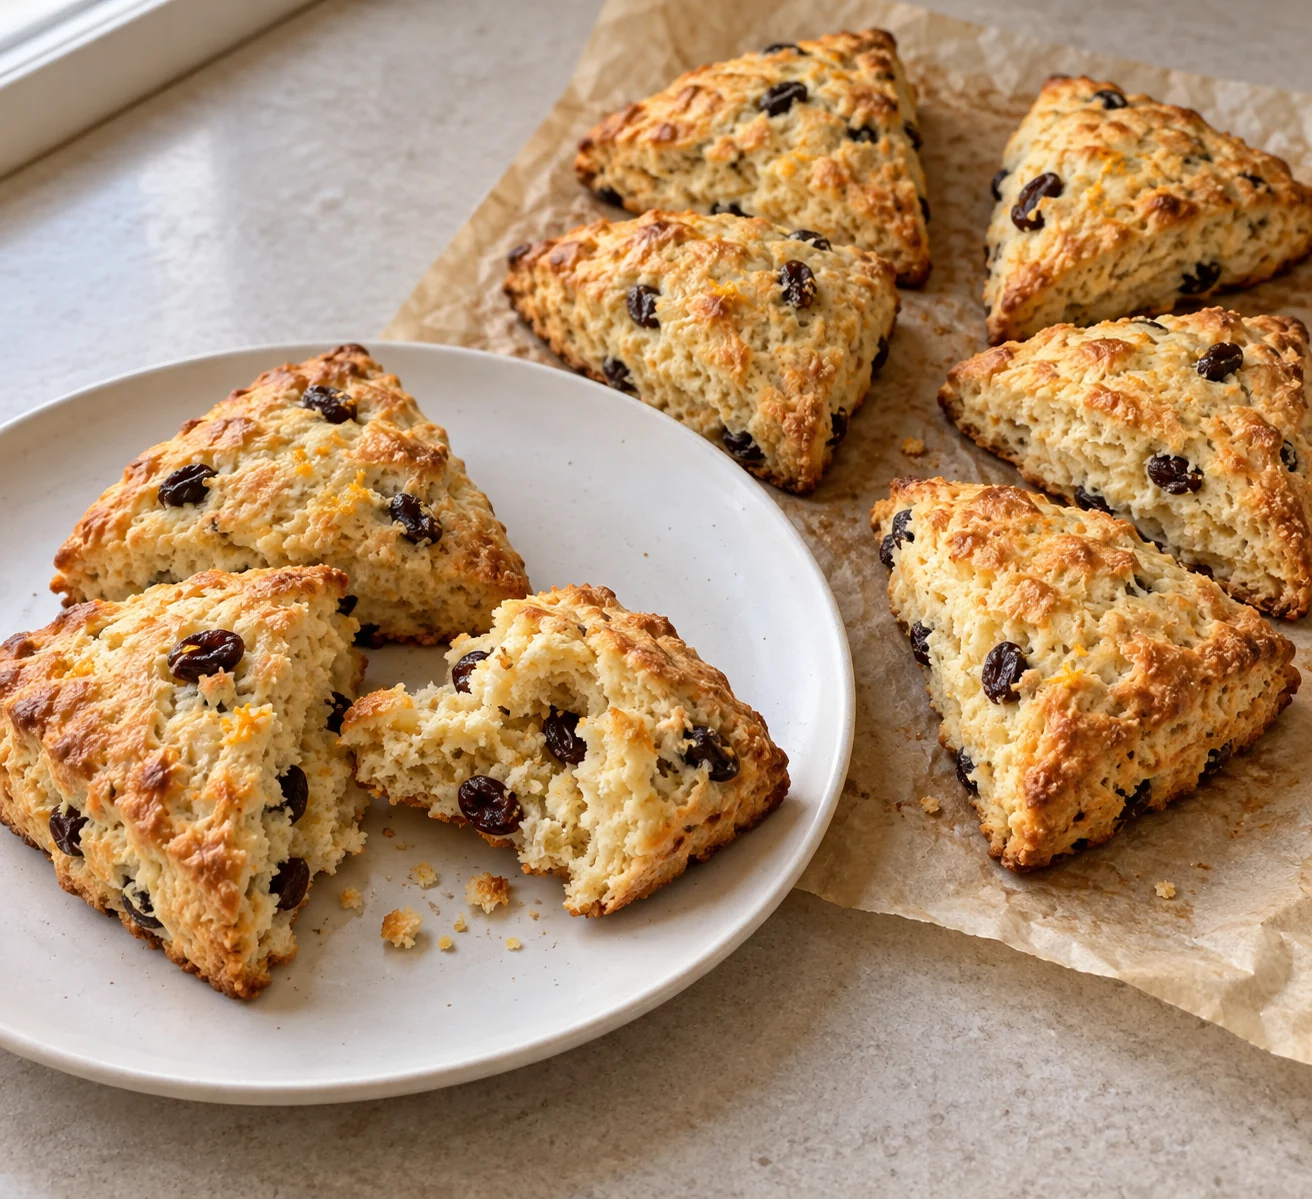
These triangular scones use orange zest for aroma and raisins for small pockets of sweetness. They are served plain, without an icing layer or a separate spread. The texture comes from cold butter worked into flour, a brief mix with milk and egg, and a refrigerated pause after shaping. The full ninety-minute allowance includes that chill and the first cooling period. Gather the parchment and baking sheet before mixing so the dough can move from bowl to refrigerator without sitting on a warm counter.
Orange & raisin breakfast scones makes 8 servings, with 1 hr 30 min estimated total time. View the standalone recipe page.
Measure the zest separately from the fruit
Wash and dry the orange, then grate only the colored surface and weigh the amount that goes into the dough. The card does not use the orange juice or flesh. Grating deeply into the white pith can add bitterness, and squeezing juice into the bowl would change the liquid balance. Use plain raisins as listed rather than soaking them beforehand. Scatter them through the flour mixture before adding liquid so they are distributed rather than left as a dense cluster in one wedge.
Leave some small butter pieces visible
Start with cold cubed butter. Work it through the flour with fingertips or a pastry cutter until the mixture has uneven crumbs and a few small pieces. You are not trying to cream butter and sugar into a smooth paste. If the butter becomes shiny and greasy during handling, pause and chill the bowl briefly. The ingredients should stay cool enough for the small butter pieces to remain distinct. The sugar, salt and baking powder should already be whisked evenly through the flour.
Fold just until the dry pockets disappear
Whisk the measured egg and milk together before pouring them in. Use a broad spatula to bring the wet and dry ingredients together, scraping the bottom where loose flour can hide. Press a small portion gently: it should hold together even if the bowl still looks rough. Avoid kneading to make the surface polished. Extra stirring after the dough has formed does not improve distribution and can make the crumb tougher. Use the full measured mixture rather than leaving liquid behind in the measuring vessel.
Use parchment to control thickness without extra flour
Place the dough between two sheets of parchment and press it into the specified round. This method keeps the canonical flour quantity intact instead of adding an unmeasured dusting. Check that the center and edges are similarly thick before cutting. Remove the top sheet, cut eight equal wedges and move them apart on the lower sheet. A sharp downward cut is easier than dragging the knife through the raisins. Leave the stated gaps so the edges can bake rather than joining into one large cake.
Chill, bake and cool in separate stages
Refrigerate the shaped wedges while the oven reaches temperature. Bake until the edges are golden and the centers are set, rotating the tray if one side colors faster. A dark raisin on the surface does not mean the dough beneath is baked, so examine the scone itself. The short sheet rest lets fragile wedges firm enough to move, and the rack rest releases steam from their bottoms. Seal only completely cooled leftovers; trapped warmth creates condensation and softens the crisp edges.
Common questions
Can I soften the butter first to make mixing easier?
Keep it cold for this method. Softened butter tends to blend completely into the flour instead of remaining as small pieces. If your kitchen is warm, cut the cubes ahead and keep them refrigerated until the dry ingredients are ready.
Why did the scones spread or become heavy?
Warm butter, extra liquid and prolonged mixing can all contribute. Check that only the measured zest, not orange juice, entered the dough; keep the chill step; and avoid kneading. Changes in flour brands and oven behavior can also affect the result.
Technique & food-safety references
These primary references support the technique, safety and storage guidance. The recipe and cooking explanations are original Recipe Pinboard content.