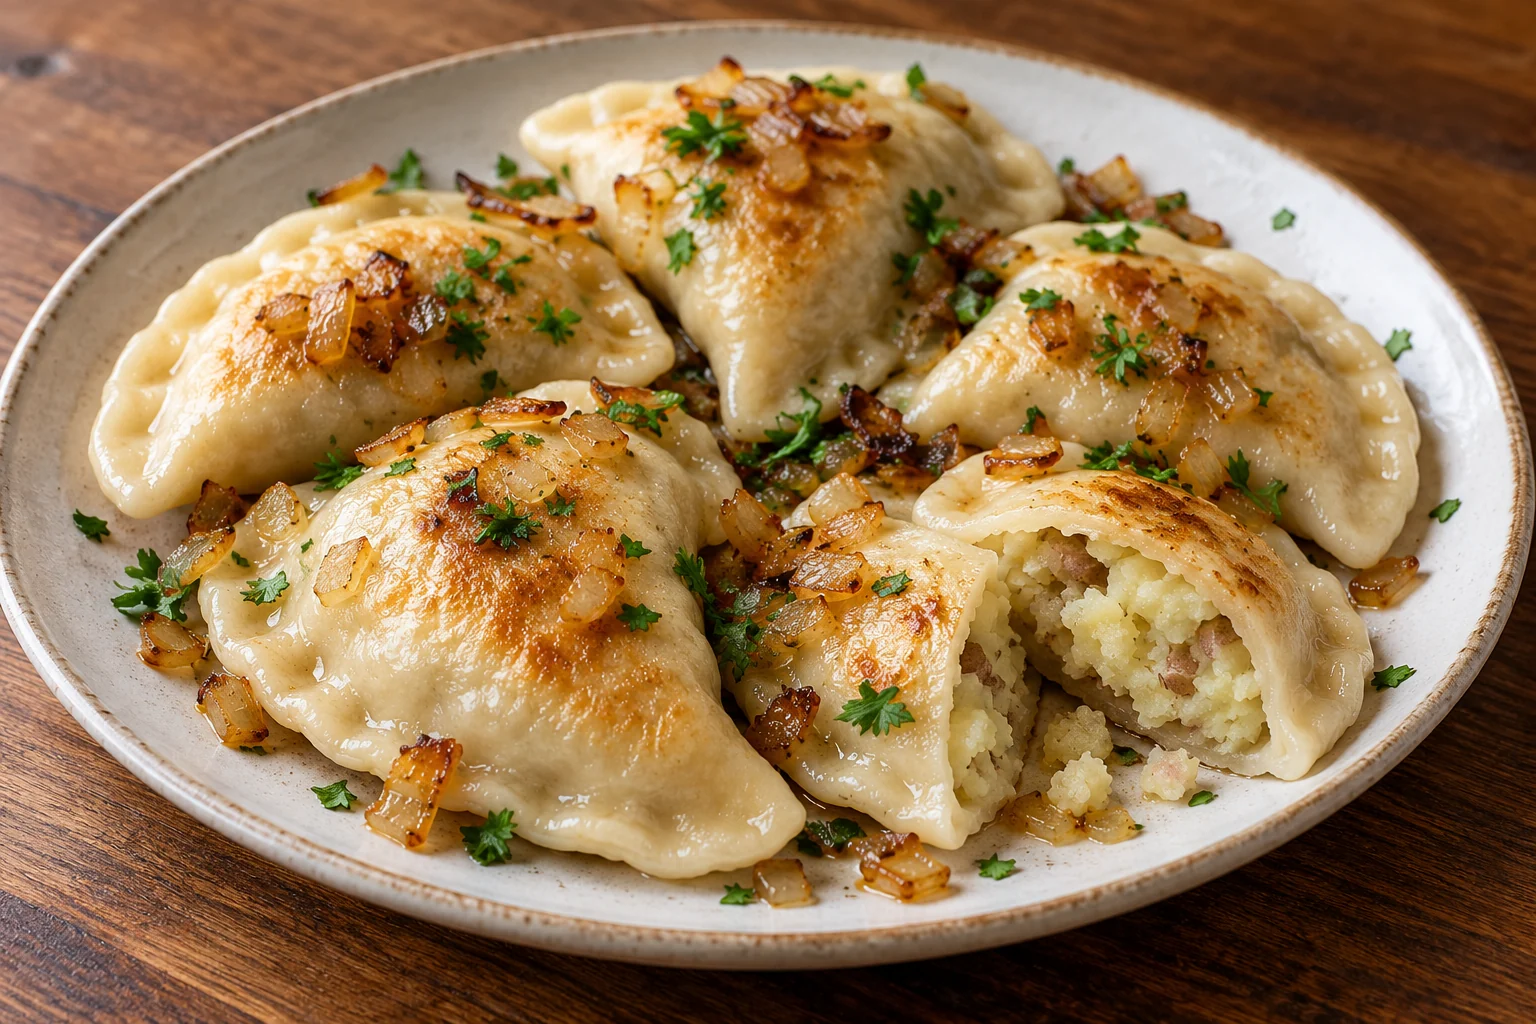
These pierogi combine a simple rested wheat dough with a skin-on potato and onion filling. They are boiled first to cook the wrapper, then finished with butter and onions for color. Making twenty-four pieces takes time, so the schedule includes dough resting, filling cooling and several cooking batches. The two-hour-plus process is easier when each stage is prepared before the next begins.
Skin-on potato and onion pierogi makes 4 servings, with 3 hr estimated total time. View the standalone recipe page.
Rest the dough and reserve rolling flour
Mix the main flour portion with warm water, melted butter and salt, then knead until the surface becomes smoother. The covered rest lets the dough relax, making it easier to roll without repeatedly shrinking back. Keep the twenty-gram rolling allowance separate so it does not disappear into the initial dough. Use that allowance lightly on the board and tray rather than creating thick white patches. Dividing the dough before rolling avoids a large sheet of scraps that must be gathered and worked again.
Make a filling that is cool and cohesive
Boil evenly sized potato chunks until they mash readily, then drain and let steam escape before mashing. The recipe retains the edible skins: chop any large pieces finely and fold them back through the potato. Long strips can catch against a thin wrapper. Cook the filling onions until soft and combine them with the potato, measured butter and seasonings. Spread the mixture in a shallow dish to cool. A hot filling warms the dough and makes a tidy seal harder to achieve; a watery filling can leak into the seam.
Distribute the filling before sealing
Arrange twenty-four dough portions and divide the filling evenly before committing to large spoonfuls. Roll each piece into the specified circle and keep unused dough covered so its surface does not dry. Place filling in the center with a clear margin around it. Fold into a half-moon, press out obvious air pockets and pinch the edges firmly. Flour trapped between the edges can weaken the seal, so brush away excess with dry fingers. A fork decoration is optional; a continuous closed seam is the useful requirement.
Boil in batches, then drain well
Bring a roomy pot of water to a gentle boil and add only enough pierogi to move freely. Stir carefully at the start to release any piece resting on the bottom. Floating indicates progress but does not automatically mean every thick seam has cooked. Continue for the stated interval and check that the dough is tender rather than floury. Lift with a slotted spoon and let water drain before transferring to the buttered skillet. Water carried into the pan turns the final stage into more steaming and dilutes the onions.
Use moderate heat for the butter finish
Cook the finishing onions until soft and lightly colored before adding the boiled pierogi. Work in two batches so the half-moons touch the pan instead of piling on one another. Moderate heat gives the dough time to develop golden patches without scorching the butter or onion pieces. Divide all onions, butter and parsley among the portions. Nutrition uses ingredient input, including rolling flour, rather than an invented cooked weight or a deduction for unknown boiling losses. Chill leftovers promptly, use within three to four days and reheat to 165°F.
Common questions
Why do pierogi open in the water?
Overfilling, trapped flour along the seam and dried dough edges can all weaken a closure. Keep dough covered, leave a clean border and pinch firmly. A gentle boil also puts less force on the sealed pieces.
Should I peel the potatoes for a smoother filling?
This version deliberately uses the complete skin-on edible weight. Mince large skin pieces finely rather than discarding them. Peeling changes the ingredient state and would require a revised estimate.
Technique & food-safety references
These primary references support the technique, safety and storage guidance. The recipe and cooking explanations are original Recipe Pinboard content.