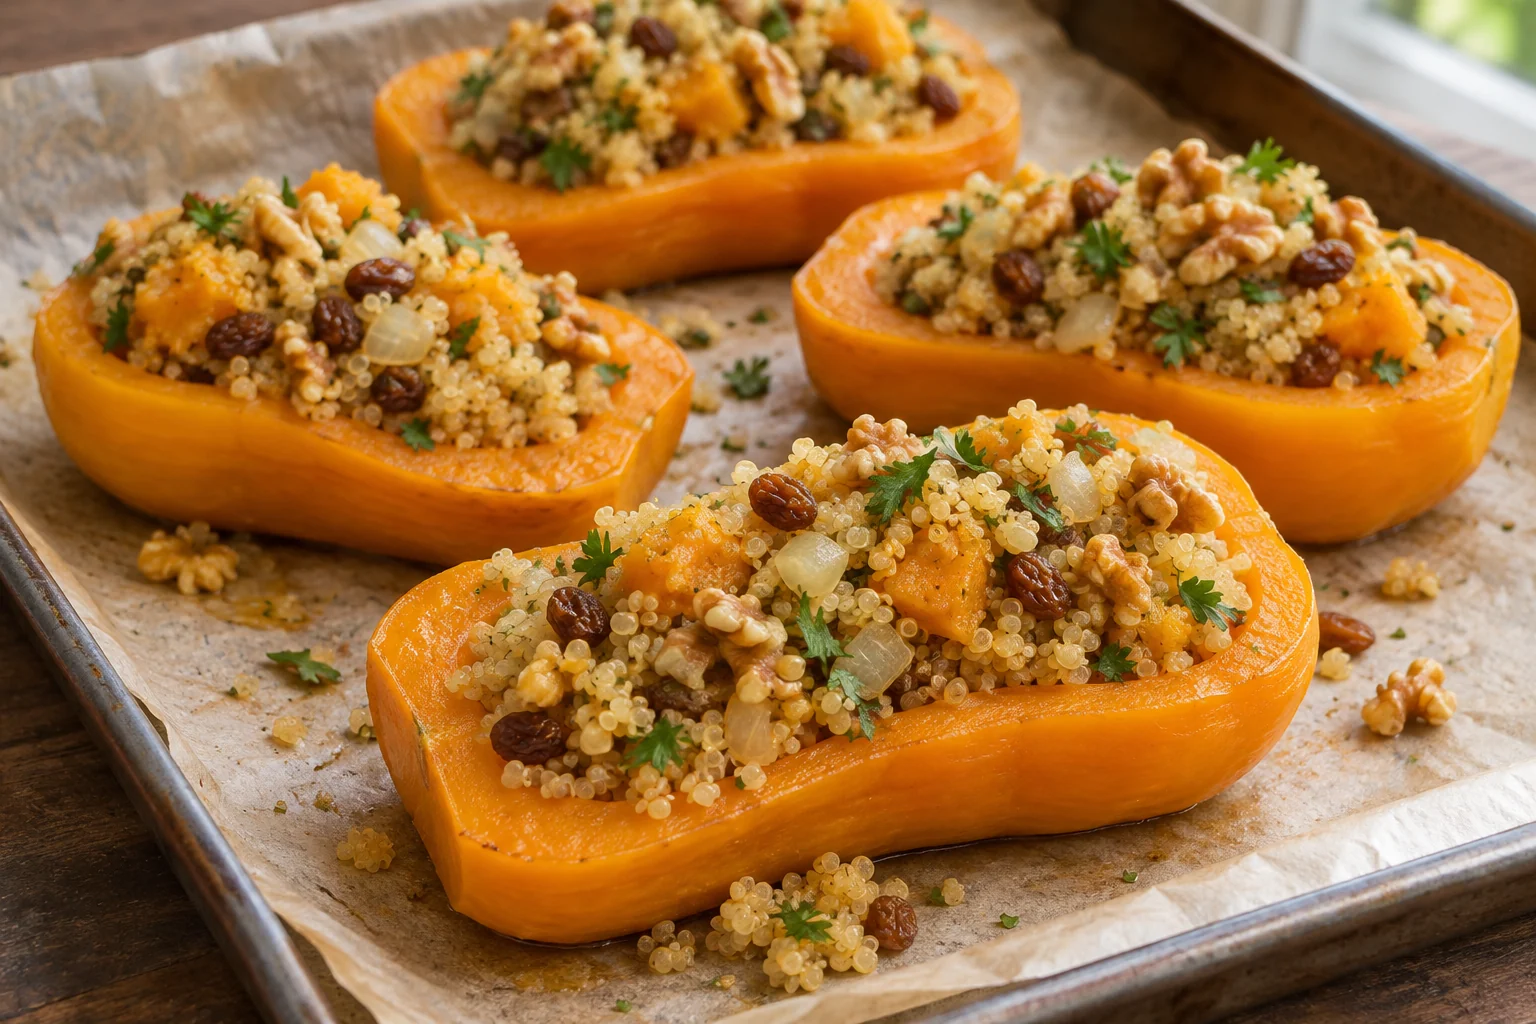
These stuffed squash halves have edible peeled walls rather than a skin that needs to be left on the plate. Roasting first makes the thick neck tender enough to scoop, and the scooped flesh goes back into the quinoa filling. Raisins add small sweet bites while walnuts provide texture. Choose similarly sized small squashes so the four halves finish at roughly the same time, and prepare the quinoa while the oven does the first roast.
Quinoa and walnut stuffed butternut squash makes 4 servings, with 1 hr 55 min estimated total time. View the standalone recipe page.
Prepare stable halves before weighing
Peel the squashes, remove the seeds and trim inedible stem material before weighing the flesh. Use a stable board and a sharp knife, keeping fingers out of the blade's path. The recipe needs four halves with enough neck and bowl to hold the filling. Arrange them so their cut faces point upward without rocking. If necessary, take a very thin slice from an uneven underside and roast that edible slice alongside, then include it in the filling. Do not carve away substantial flesh simply to make the halves look identical.
Roast the neck until a knife enters easily
Coat the peeled surfaces with the measured oil and seasonings. Their exposed flesh can dry at thin edges, so check progress rather than relying only on the largest stated time. The thick neck is the useful testing point; the hollow seed end often softens earlier. A knife should enter with little resistance before you try to enlarge the cavity. Keep the halves on their parchment-lined tray during the brief cooling interval. Moving very hot, soft squash unnecessarily can break its walls before the stuffing stage begins.
Cook and rest the quinoa separately
Rinse the quinoa in a fine sieve and drain it well before adding the measured cooking water. Bring it to a boil, then reduce to a quiet covered simmer. Once tender and the liquid absorbed, leave it covered off the heat for the scheduled rest. Fluff gently afterward rather than stirring repeatedly during cooking. Meanwhile, soften the onion and briefly warm the cumin in its oil. This gives the filling cooked onion flavor without depending on the short final bake to soften raw pieces buried among the grains.
Create a hollow without losing the walls
Once the squash is safe to handle, scoop some flesh from the neck to extend the cavity while leaving a substantial wall. Support the half with a broad utensil rather than gripping a fragile edge. Chop the scooped flesh and mix it with the quinoa, onion mixture, raisins, walnuts, lemon and parsley. Break up large squash lumps gently so the filling stays varied rather than becoming a puree. Divide the mixture evenly across the halves. If a cavity is smaller, mound lightly and place excess beside it on the tray instead of pressing until the squash splits.
Heat the filling and serve all its components
Return the stuffed halves to the oven until the filling is hot through the center and reaches 165°F. The second bake is shorter because both the squash and quinoa are already cooked; it brings them together rather than rescuing a hard squash neck. Rest briefly, then lift each half with a wide spatula and add its share of any extra filling. Refrigerate leftovers within two hours, use within three to four days and reheat to 165°F. Cover during reheating to keep the exposed grains from becoming dry before the squash center warms.
Common questions
Why did the peeled squash break while I filled it?
It may have been scooped too thinly or handled while extremely hot. Leave the stated wall thickness, cool briefly and support the whole half from underneath. Put excess filling beside it rather than forcing more into a fragile cavity.
Can I use a large squash instead of two small ones?
A large neck can take longer to soften and produces a different serving shape. The recipe is designed around four similarly sized halves. Choose small squashes and weigh their prepared edible flesh for the intended portions.
Technique & food-safety references
These primary references support the technique, safety and storage guidance. The recipe and cooking explanations are original Recipe Pinboard content.