The most important timing decision in this boule happens before it enters the refrigerator. The dough needs enough development during its first fermentation to support the overnight proof and final bake. Its 22-hour estimate includes refrigeration and cooling, but does not include creating a new starter. Begin with a mature flour-and-water starter that reliably doubles after feeding, and leave flexibility in the schedule.
Simple sourdough boule makes 10 servings, with 22 hr estimated total time. View the standalone recipe page.
Start with active starter and keep the dough formula intact
The 100 g starter must be ripe and at 100% hydration: equal flour and water by weight. It contributes approximately 50 g of each to the dough. Together with the main flour and water, that makes 500 g total flour and 350 g water, or 70% hydration before dusting. A much stiffer or thinner starter changes this balance.
Keep the 15 g dusting flour separate from the 450 g used in the mixing bowl. During the first 30-minute covered rest, the initially rough mixture has time to hydrate. Resist the urge to make it instantly dry and easy to handle by adding flour. The salt is incorporated after that rest, as the card specifies.
Use folds to organize the dough, then observe its growth
Each folding set lifts all four sides toward the center. Work gently enough to stretch without ripping, and keep the bowl covered between the three sets spaced 30 minutes apart. These folds are part of the bulk-fermentation period. They are not a separate 90-minute stage to add after the stated four-to-six-hour estimate from mixing.
Judge the end of bulk fermentation by the combined signs: an airy interior, rounded edges and roughly 50–75% volume growth. A straight-sided container or a marked starting level can make that last change easier to assess. At 72–75°F the stated time is a guide; a cool dough or less vigorous starter can need longer.
Shape with enough tension to hold a round
The loose first round and 20-minute rest give the dough a chance to relax before its final shaping. Use just enough of the reserved flour to prevent unwanted sticking, leaving some for the towel-lined bowl. Excess flour between folds can interfere with the dough joining to itself, while repeated hard pressing releases gas you have spent hours developing.
Tighten the outside gently, stopping before the surface tears. Place the boule seam-side up in its prepared bowl and refrigerate, covered, for 8–12 hours. The bowl supports the shape during this stage. If the dough was still dense at shaping, the refrigerator is not a reliable shortcut for making up an incomplete warm fermentation.
Set up the hot-pot transfer before opening the oven
Check that the 4–5 liter Dutch oven, lid and knob are suitable for 450°F, including the manufacturer's guidance on empty preheating. Use baking parchment rated for that temperature. Clear a heat-safe landing space and have dry, protective oven mitts ready. The lid and handles remain dangerously hot even when the pot is sitting quietly on the counter.
Turn out and score the chilled dough before carefully lowering it into the preheated pot. The single curved cut, about 1 cm deep, gives expansion a planned opening. Keep hands clear of the rim. When uncovering after the first baking stage, lift the lid away from your face because trapped steam can escape quickly.
Read the baked loaf after a proper cooling period
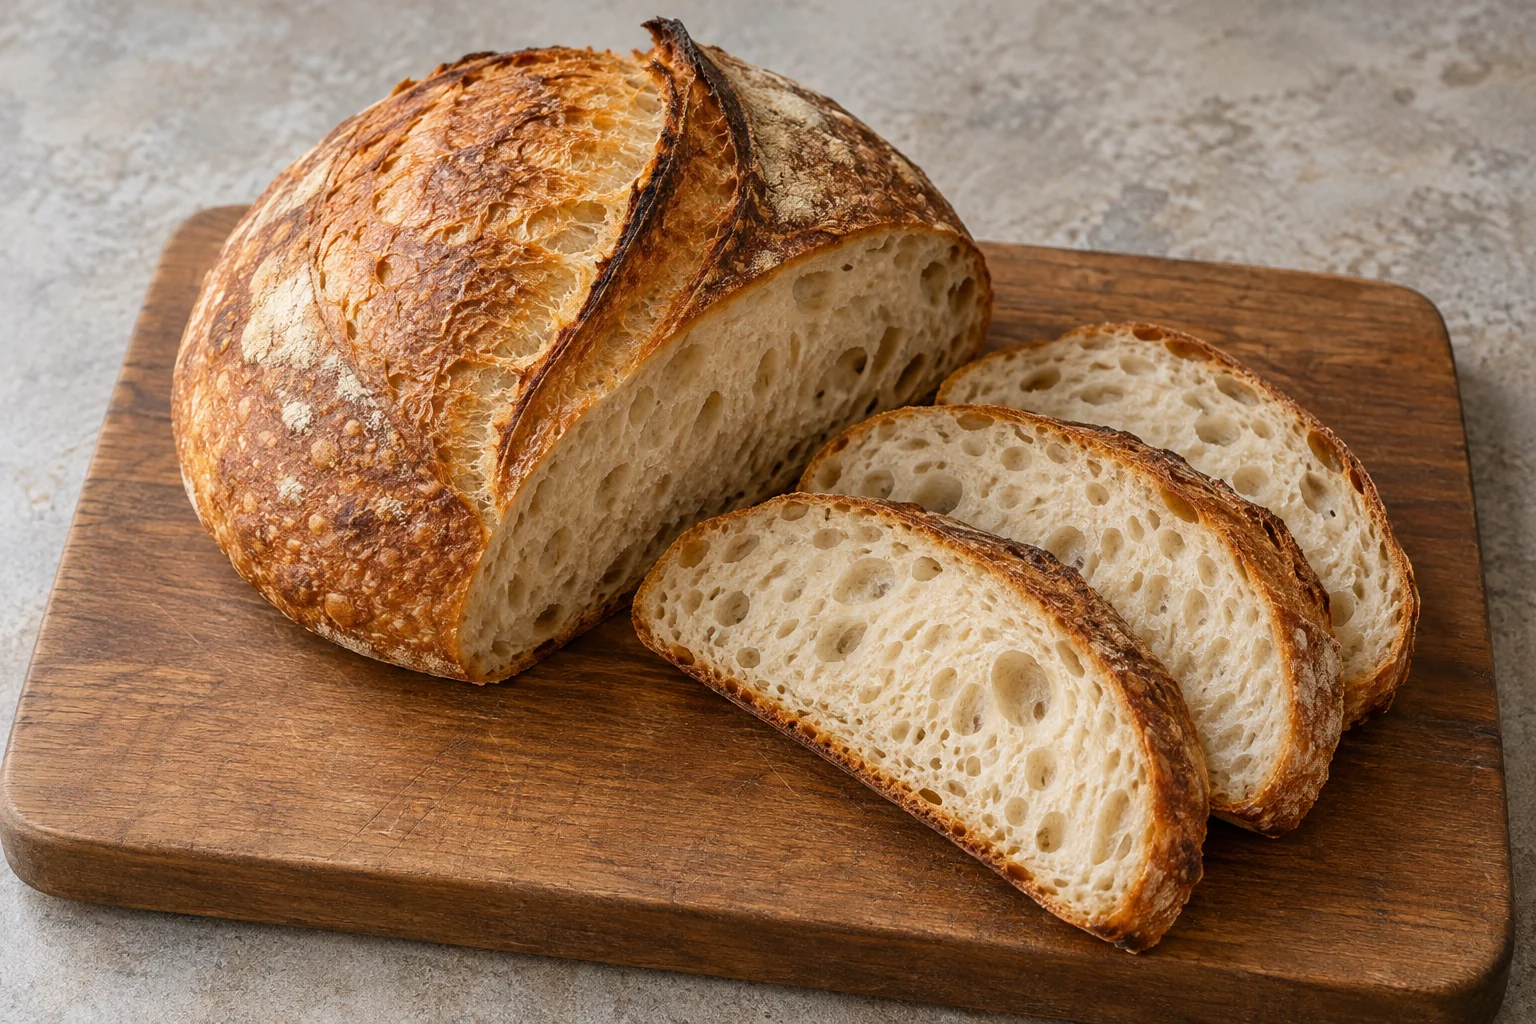
The covered bake is 25 minutes, followed by 20–25 minutes uncovered. Look for the deeply browned crust and approximately 205–210°F center specified in the recipe. Then transfer to a rack and wait at least two hours before cutting. Slicing while the crumb is very hot can make it seem gummy and can compress the loaf under the knife.
A flat or dense loaf has several possible causes, including starter weakness, insufficient fermentation, excessive fermentation or damage during shaping. Compare your timing and growth notes before deciding which applies. Divide into ten portions, store fully cooled bread as directed, and freeze slices if you will not use them within two days. Never eat the raw dough or starter.
Common questions
Should bulk fermentation always finish in six hours?
No. The time range assumes the stated temperature and an active starter. Use the dough's growth, rounded edges and aeration together. Extending time blindly is no more reliable than stopping at the first timer alarm.
Can I bake with a brand-new starter?
Only once it has become reliably active over consecutive feeds. Its age alone is insufficient. Starter establishment takes additional time and is outside this loaf's 22-hour estimate.
Technique & food-safety references
These primary references support the technique, safety and storage guidance. The recipe and cooking explanations are original Recipe Pinboard content.