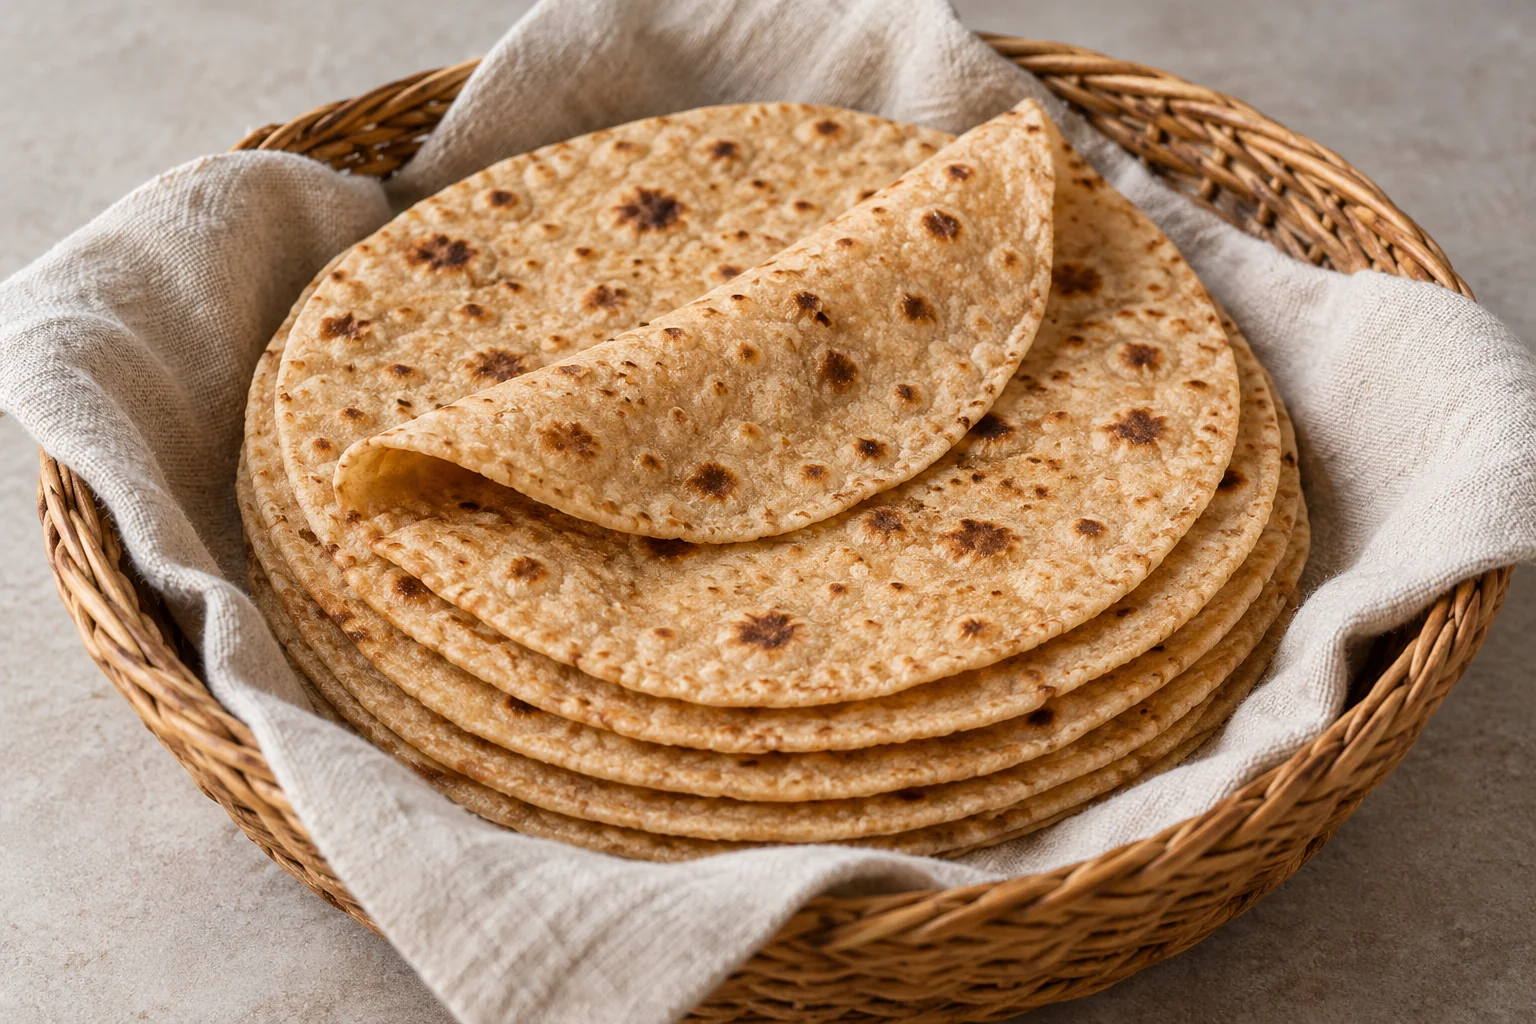
A useful chapati is thin enough to cook quickly and soft enough to fold around the food beside it. It does not need to inflate into a perfect balloon to be successful. These eight whole-wheat rounds rely on dough hydration, a covered rest and short contact with a hot skillet. The recipe makes four portions of two chapatis, with the flour used for rolling included in the ingredient total.
Whole-wheat skillet chapatis makes 4 servings, with 55 min estimated total time. View the standalone recipe page.
Keep the dough flour separate from the dusting flour
Measure the main dough flour and reserve the smaller dusting amount before adding water. This distinction matters: putting every gram into the bowl would make a firmer dough and leave nothing for rolling. Finely milled whole-wheat flour is easiest to work with; coarse bran can make the edges less tidy.
Mix until no dry pockets remain, then knead for the stated five minutes. The dough should become cohesive and soft, with only a little tackiness. Do not bury slight stickiness under repeated handfuls of flour.
Use the rest to make rolling easier
Cover the dough for the full resting period so its surface cannot dry into a skin. This pause gives the flour time to absorb moisture and makes the dough easier to extend.
Divide it into eight equal pieces after resting, then make smooth balls. Keep the waiting pieces covered while working on one at a time. If a ball springs back stubbornly under the rolling pin, let it relax for a few minutes and move to another. Forceful rolling can make the center thin while leaving a heavy rim.
Aim for even thickness before a perfect circle
Dust the surface and pin lightly from the reserved flour. Rotate the dough frequently so it stays free of the board, then roll outward with similar pressure in each direction. A roughly round chapati that is evenly thin cooks more predictably than a geometrically perfect one with a thick center.
The target diameter is about 15 cm with a thickness near 2 mm. Avoid stretching the round while moving it to the skillet, since thin spots can tear and release steam. Shake off obvious loose flour; excess flour scorches on the pan and can leave bitter dark specks unrelated to the bread's actual browning.
Read the skillet through the first chapati
Heat a heavy dry skillet, then watch how the first round behaves. Its wet sheen should fade before the first turn, followed by scattered brown spots on the second side. If the surface blackens almost immediately, lower the heat. If it stays pale through prolonged cooking, the pan needs more heat rather than several extra drying minutes.
Steam may lift parts of the bread or puff most of the round. Either is acceptable. Finish both sides and check that the center is no longer gummy. Wipe loose browned flour from the pan with a suitable dry utensil between rounds if it begins accumulating.
Protect softness from skillet to table
Slip each cooked chapati into a clean folded towel while finishing the batch. The covered stack holds warmth and limits moisture loss. Serve promptly with a stew, cooked vegetables or a spread; those accompaniments are separate from the recipe. Leaving individual rounds uncovered on a rack would give their thin edges more opportunity to dry.
Let leftovers cool, then wrap airtight and refrigerate for up to three days, or freeze for up to a month for best quality. Warm briefly in a covered skillet rather than cooking them until crisp. Raw flour can carry harmful germs, so do not taste the dough and clean the board, pin and hands after handling it.
Common questions
Why did my chapatis turn stiff?
Prolonged cooking, too much dusting flour or uncovered cooling can all dry a thin round. Use a properly heated skillet for short cooking and cover each finished chapati promptly.
Is a chapati undercooked if it does not puff fully?
Not necessarily. Uneven rolling or a small tear can prevent full inflation. Check both cooked surfaces and the center; it should be set and pliable, without a raw, gummy layer.
Technique & food-safety references
These primary references support the technique, safety and storage guidance. The recipe and cooking explanations are original Recipe Pinboard content.