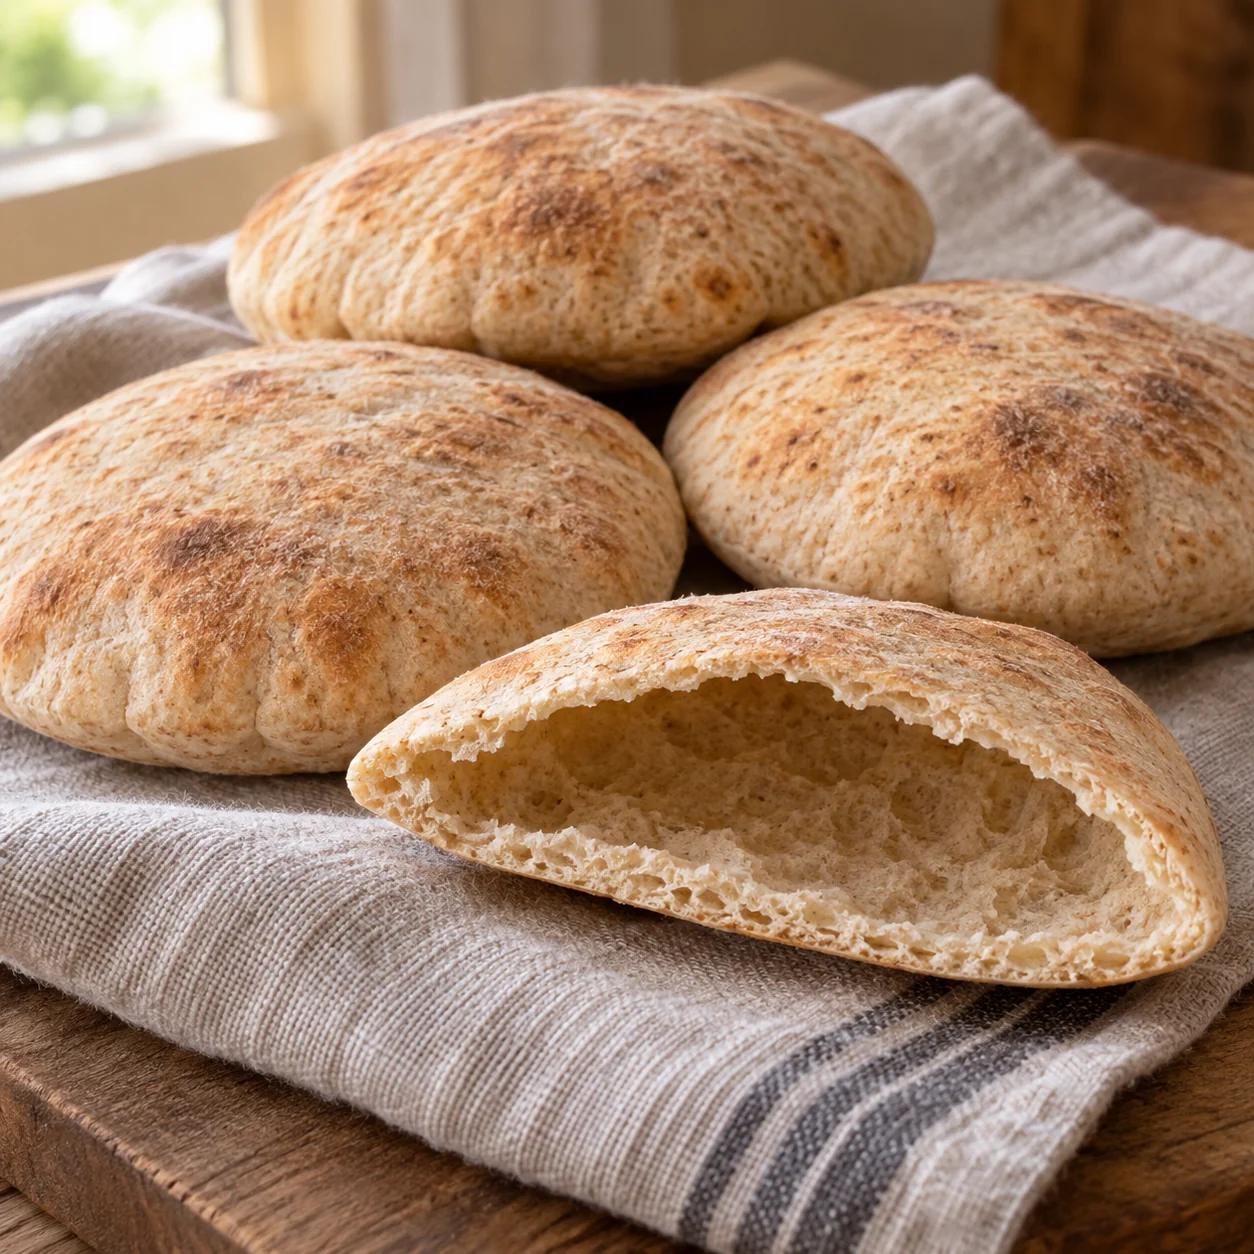
A pita pocket forms when the rolled dough expands in a hot oven and its two sides separate. This half-whole-wheat version uses a stone or steel and eight equal dough pieces. The card above includes the rising and cooling time. The guide explains the practical checkpoints, including what to do when a round bakes through but never develops a complete pocket.
Whole-wheat pita pockets makes 8 servings, with 3 hr estimated total time. View the standalone recipe page.
Use the specified flour balance
The dough contains equal weights of whole-wheat and white bread flour. Keep those weights intact rather than replacing the white flour with more whole-wheat flour and expecting identical handling. Stir the active dry yeast and sugar into lukewarm water, then combine the dough as described. Water that is merely comfortable to touch is an imprecise measurement; use a thermometer when available. Knead until the dough feels elastic and holds together. Do not taste it raw, and clean surfaces after handling flour.
Let the dough rise while the baking surface heats
Cover the dough so the surface stays supple. Use the rise in volume as the main checkpoint, with the time range as a planning guide. A cool room can extend fermentation, while a hot spot can make it move faster. Begin preheating the oven and its stone or steel during the latter part of the rise. A hot oven display does not necessarily mean a thick baking surface has heated throughout. Follow the equipment manufacturer's heating instructions and keep the hot surface in the oven between batches.
Divide equally and allow the small dough balls to relax
Weigh or carefully divide the dough into eight similar portions before shaping. This defines one pita per serving and reduces the chance that some rounds are dramatically thicker than others. Cover the balls during their rest and while working on the first batch. If a ball springs back strongly when rolled, leave it covered briefly and return to it rather than forcing the pin through it. The small reserved portion of oil helps prevent sticking without adding unmeasured dusting flour.
Roll an even disk without puncturing it
Aim for the diameter and thickness in the card, checking the center as well as the edge. A thick middle with a thin perimeter tends to expand unevenly. Keep the surface intact: fork holes, tears and sharp creases provide places for steam to escape. Transfer the disk gently with a peel or wide spatula so it does not fold over itself. Avoid stacking uncooked disks, which can stick together and tear when separated. Prepare only as many as you can move onto the hot surface comfortably.
Bake in small batches and handle steam carefully
Watch each pair as it bakes. Inflation may begin at one side and spread, but some rounds will puff only partly. Leave them until the dough is set and lightly spotted rather than pulling them out at the first bubble. If later batches puff poorly, allow the baking surface time to recover before loading more. Wrap finished pitas in a clean towel for the cooling period. Open pockets only after the hottest steam has subsided; the inside can burn even when the outside is easy to hold.
Common questions
Is an unpuffed pita wasted?
No. If it is fully baked, use it as soft flatbread for dipping or folding. A missing pocket is a texture result, not proof that the ingredients failed. For the next round check heat, even thickness and an unbroken surface before changing the dough formula.
Can sourdough starter replace the yeast?
Not directly in this card. Starter contributes flour and water and changes fermentation timing, so it needs a separately balanced formula. The stated nutrition and three-hour schedule belong to the active-dry-yeast version. Freeze fully cooled extra pitas rather than trying an unmeasured starter substitution in the same batch.
Technique & food-safety references
These primary references support the technique, safety and storage guidance. The recipe and cooking explanations are original Recipe Pinboard content.