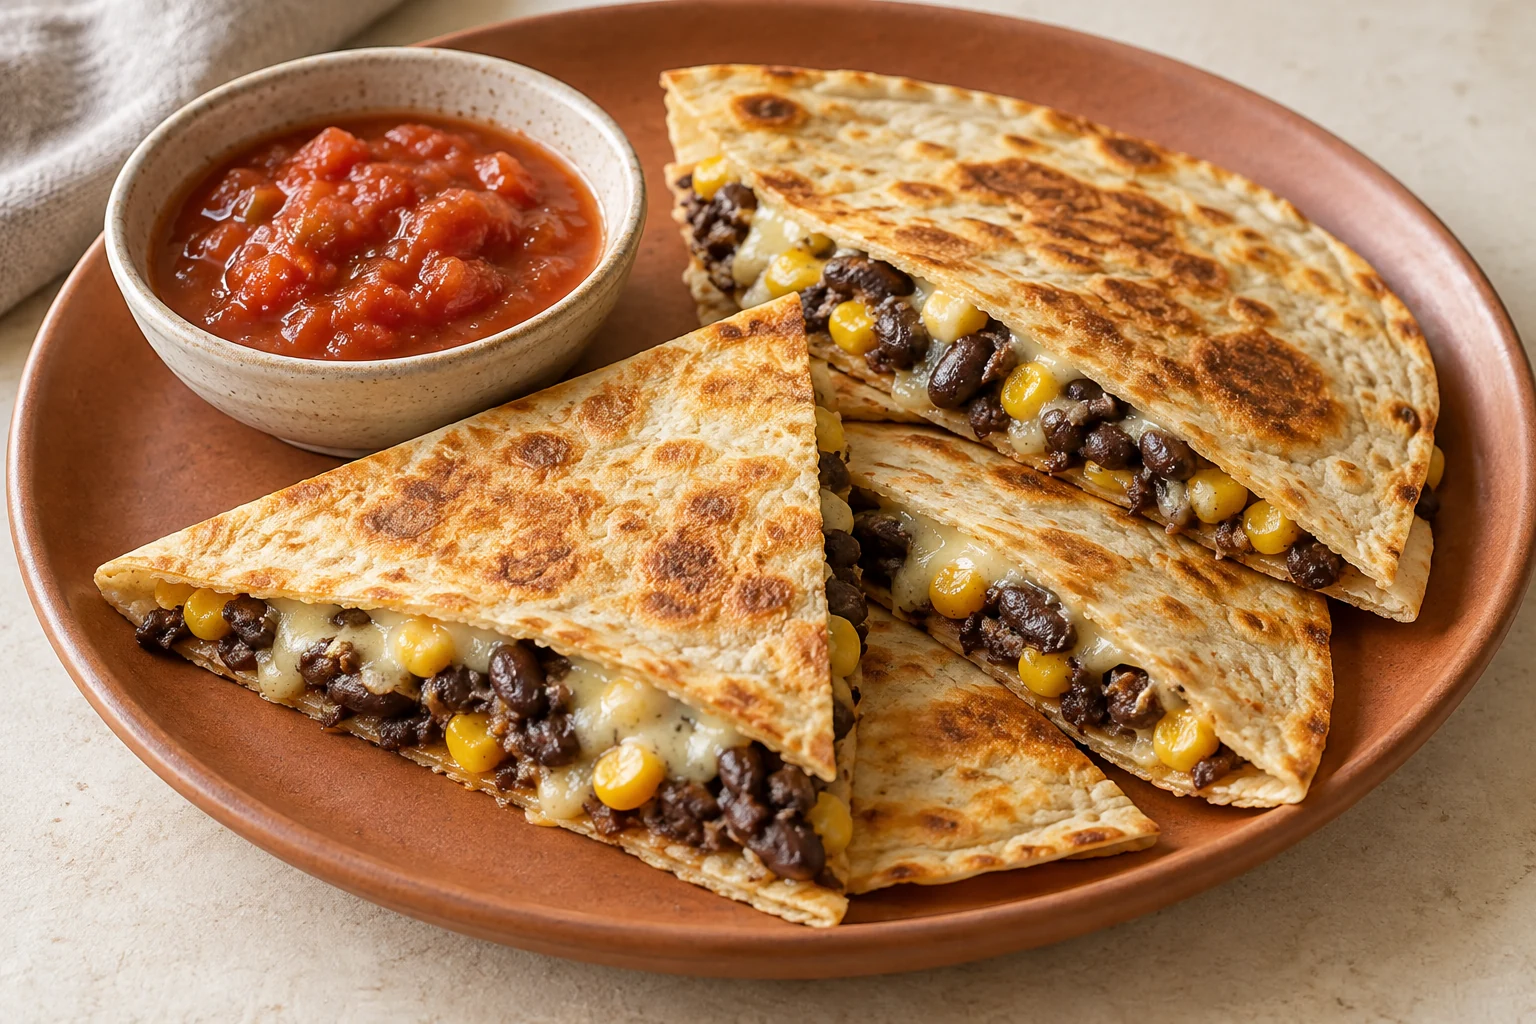
These quesadillas use two tortillas each, with a bean-and-corn filling and Monterey Jack between them. Four complete rounds must cook in sequence if you use one skillet. At two to three minutes per side, cooking alone can take sixteen to twenty-four minutes, so allow preparation time beyond the card’s tight twenty-five-minute estimate.
Black bean & corn quesadillas makes 4 servings, with 25 min estimated total time. View the standalone recipe page.
Remove water before building the filling
Drain and rinse the black beans, then let excess rinse water run off. Use thawed frozen corn as listed and drain any liquid released during thawing. Water trapped inside a tortilla sandwich has nowhere useful to go: it softens the interior while the outer surface browns.
Mash half the beans before mixing in the rest, corn, cumin and salt. The mashed portion supplies a cohesive base, while the whole beans and kernels preserve texture. Stop before turning the entire bowl into a smooth paste; the recipe deliberately asks for only half the beans to be mashed.
Divide across four bases before adding the lids
Lay out four of the eight medium flour tortillas and distribute the filling and shredded Monterey Jack evenly. Spread the filling in a relatively thin layer, leaving a small clear border so loose beans and cheese do not tumble out as soon as you lift the tortilla.
Top with the remaining tortillas. Avoid making the first one very thick and the last one sparse; a thick center is harder to heat before the underside colors. This is also why finely shredded, evenly distributed cheese is easier to manage than one dense mound in the middle.
Use a small measured oil film
The total two teaspoons of neutral oil is divided among four skillet rounds. Heat half a teaspoon for the first quesadilla over medium heat, spreading it across the area where the tortilla will sit. The aim is light pan-toasting, not a deep pool of frying oil.
Cook the first side for the suggested two to three minutes, looking underneath carefully rather than repeatedly lifting the entire sandwich. A broad spatula supports the tortilla and helps keep the filling in place. Turn once the underside is golden, then cook the second side while the cheese continues melting.
Judge the center as well as the surface
The finished tortilla should be golden and the filling steaming hot, with melted cheese throughout. A browned exterior with a cool, unmelted center signals that the heat is moving faster at the surface than through the filling. Lower the burner and allow more time instead of accepting the color as proof that dinner is ready.
Keep an eye on the skillet between batches because it can grow hotter as the sequence continues. Add each measured oil portion before the next quesadilla, and adjust the heat if later rounds brown much faster. Follow the corn package’s cooking guidance; thawing alone is not its heating step.
Cut shortly before eating and keep salsa alongside
Transfer each cooked quesadilla to a board and let it settle briefly before cutting into wedges. Cutting instantly while the filling is extremely fluid can push beans and melted cheese out through the edges. Serve the measured salsa alongside so diners add it as they eat rather than soaking every wedge in advance.
Refrigerate leftovers promptly and use within three to four days. Reheat to 165°F, checking the filling, not just the tortilla. A skillet can restore some surface crispness, but use moderate heat and allow the center to warm; a fast dark crust over a cold filling is the same problem as during the first cook.
Common questions
Why does filling spill when I flip?
The layer may be too thick, uneven, or too close to the edge. Mash the designated half of the beans, spread the filling evenly and support the whole tortilla with a broad spatula.
Why is the cheese still solid inside a browned tortilla?
The pan may be too hot or the filling too thick. Lower the heat and let the center heat fully rather than continuing to darken the outside.
Technique & food-safety references
These primary references support the technique, safety and storage guidance. The recipe and cooking explanations are original Recipe Pinboard content.