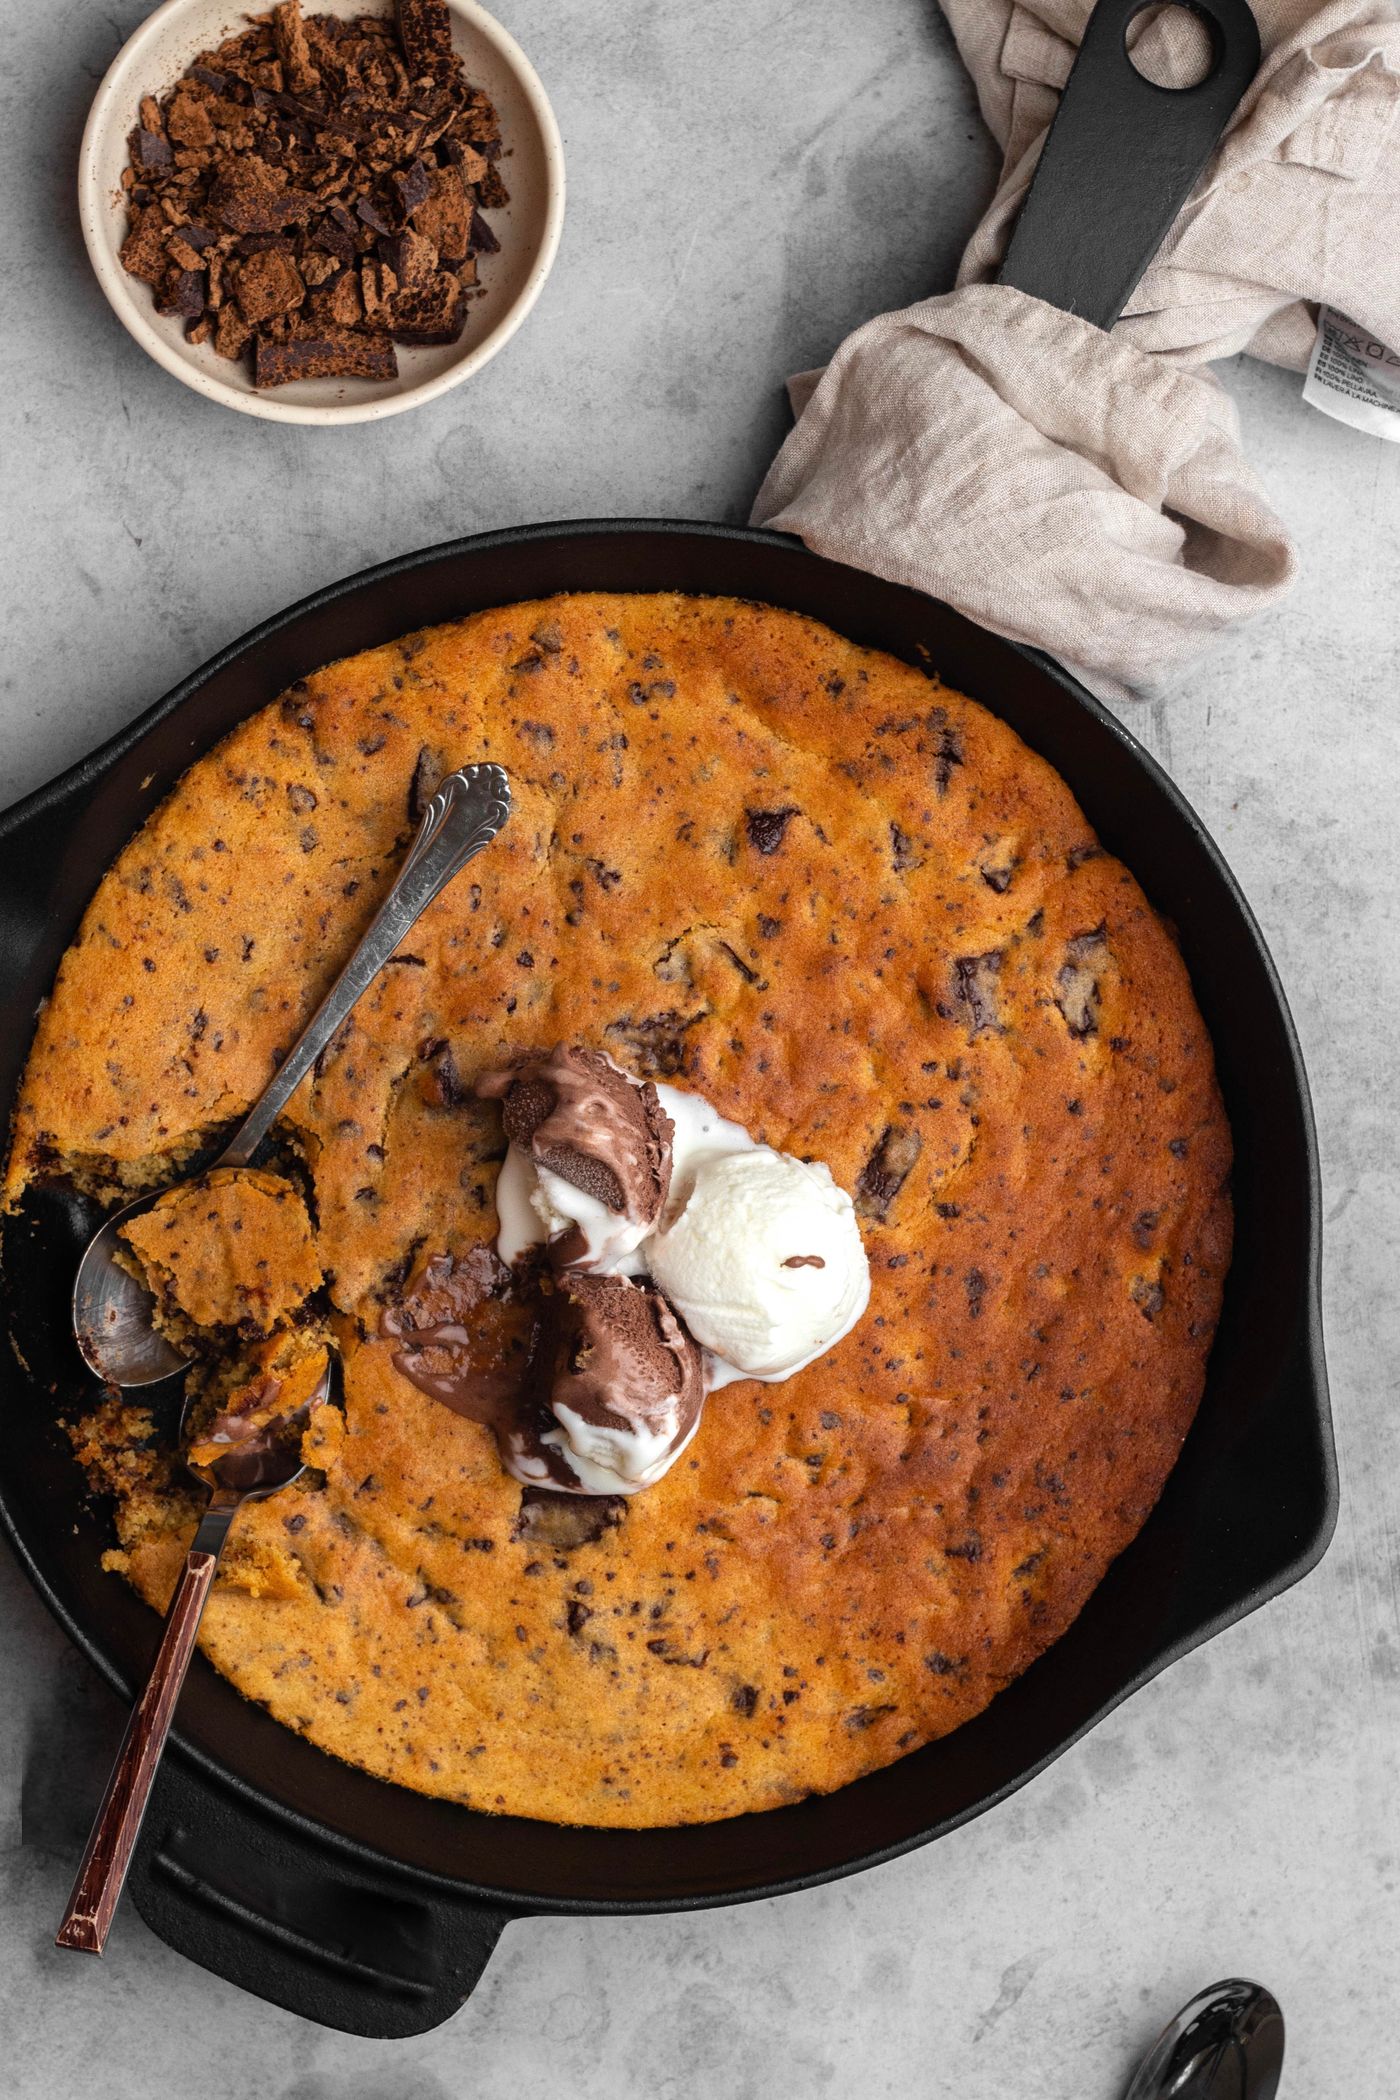
A skillet cookie concentrates a whole batch of dough in one pan, so its center needs closer attention than a tray of small cookies. This recipe uses a nine-inch oven-safe skillet and serves eight, with 240 g ice cream added at the end. The desired contrast is a golden edge and a softer, fully baked middle. Raw dough is not necessary for that contrast.
Chocolate chip cookie skillet makes 8 servings, with 50 min estimated total time. View the standalone recipe page.
Choose the right skillet and butter texture
Check that the entire skillet, including its handle, is suitable for the 350°F oven. Lightly grease it with the separate 5 g softened butter, keeping the full half cup of dough butter for creaming. The nine-inch size matters: a wider pan makes a thinner cookie, while a smaller pan leaves a deeper center that follows a different baking schedule.
The half cup of butter should be softened enough to beat with the sugars, while still holding its shape rather than pooling as liquid. This recipe begins with creaming, so melting the butter is a change in method. Have the egg and vanilla measured before you begin beating.
Build an evenly mixed dough
Beat the butter with both brown and granulated sugar until the mixture is creamy, scraping down the bowl. Add the egg and teaspoon of vanilla and combine them thoroughly before the flour goes in. Completing that stage first avoids needing excessive stirring once the dry ingredients arrive.
Distribute the baking soda and salt through the flour, then stir them into the butter mixture until no dry flour remains. Fold in the chocolate chunks last. Check the bottom of the bowl for an unmixed flour patch, but do not continue working the dough after everything is evenly incorporated.
Control thickness across the whole pan
Press the dough into an even layer, including near the sides. A tall mound in the middle prolongs baking there while the thinner edges become dark. Use a spatula or the back of a spoon to smooth it without repeatedly compacting one area.
Spread any large clusters of chocolate through the dough so one serving is not mostly melted chocolate while another has very little. The chunks will soften during baking and can smear on a tester. That is different from a streak of pale, raw cookie dough.
Read the center as well as the edges
Bake for the stated 20–25-minute range, checking for golden edges and a center that is set without raw dough. Skillet material and oven behavior affect the exact endpoint, so do not remove it solely because the timer reaches twenty minutes. A visibly wet, unset middle needs further baking.
The fifteen-minute minimum rest happens after a complete bake. It lets the cookie settle and makes serving less messy, but it is not a substitute for cooking raw flour and egg. Do not taste the unbaked dough, even if it contains only a small amount of egg.
Serve with care and store the parts separately
Leave an oven mitt or another clear reminder by the handle: it can remain dangerously hot long after the cookie comes out. Set the skillet on a heat-safe surface and warn anyone reaching toward it. Divide into eight portions with a utensil suitable for the pan's surface.
Add the ice cream only when serving. If you expect leftovers, put scoops on individual portions rather than over the entire cookie; that keeps melted dairy out of the stored remainder. Cool the untopped cookie and keep it covered, freezing portions if desired. Return unused ice cream to the freezer promptly.
Common questions
How do I tell melted chocolate from raw dough?
Chocolate leaves a dark, glossy smear. Raw dough looks like the unbaked flour-and-butter mixture. Check a central spot between chunks and require a set center as well as golden edges.
Can I rely on the hot skillet to finish an underbaked middle?
No. Follow the card and bake until the center is set without raw dough before resting. Residual heat and the serving rest should not replace the completed bake.
Technique & food-safety references
These primary references support the technique, safety and storage guidance. The recipe and cooking explanations are original Recipe Pinboard content.