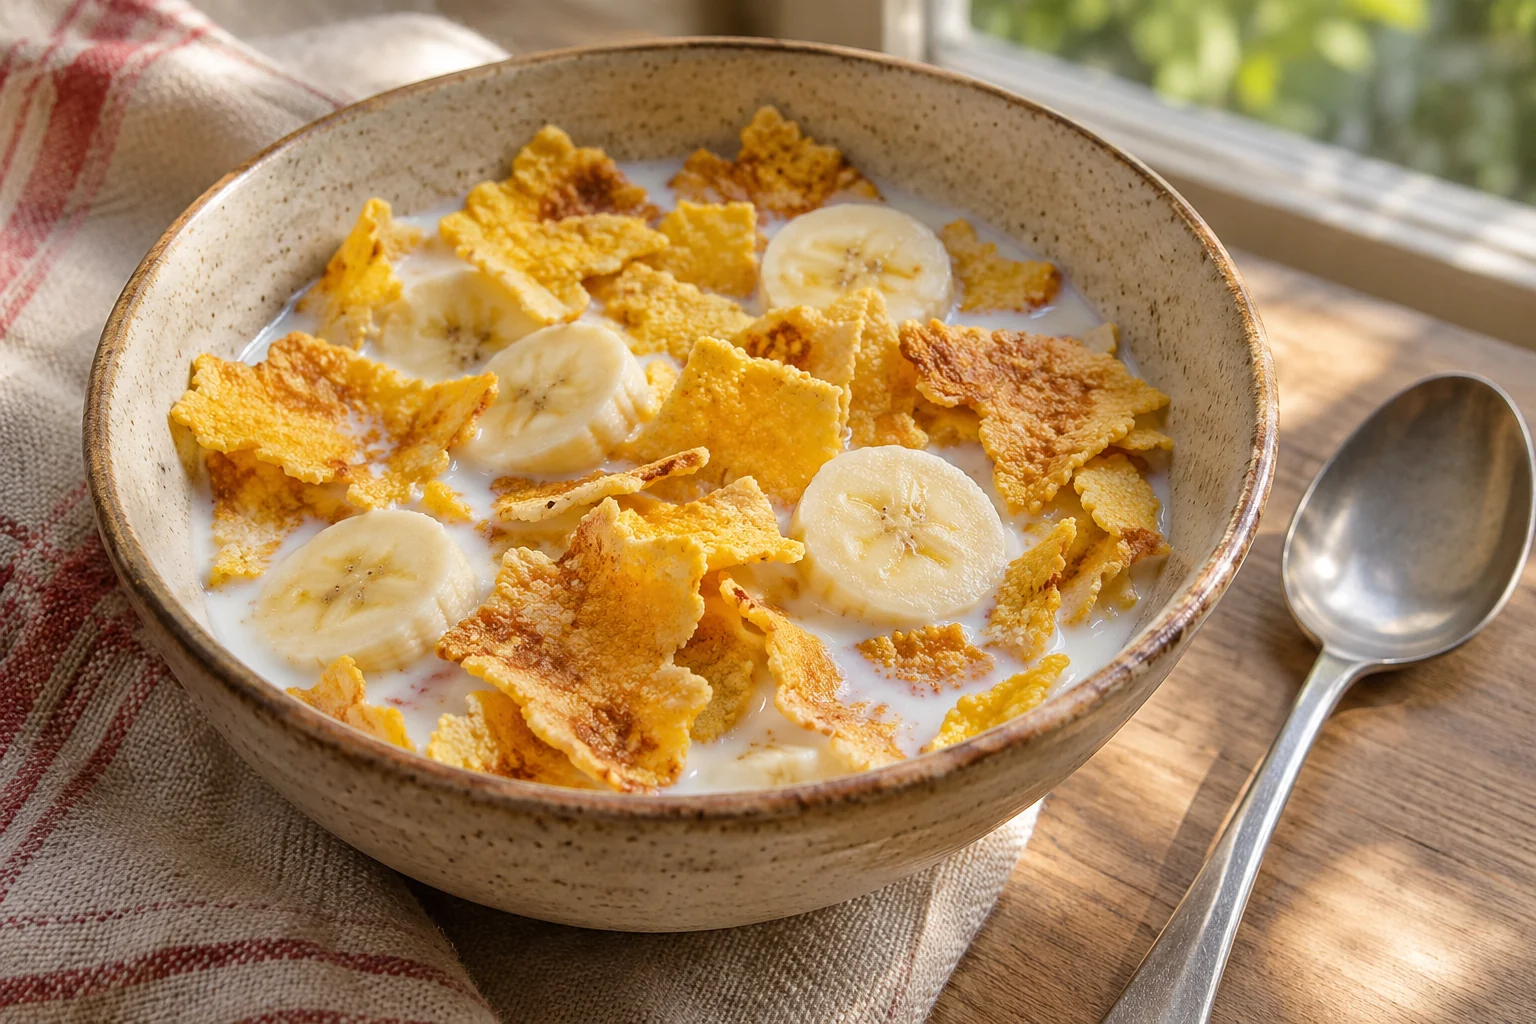
These homemade flakes begin as a thin cornmeal batter, bake into fragile sheets and then dry again as small pieces. They are rustic and uneven rather than replicas of a commercial cereal. The second bake and full cooling period are essential: color alone cannot tell you whether enough moisture has escaped. Plan to make the dry flakes before adding the measured milk and banana at serving time.
Homemade cornmeal flakes with milk and banana makes 4 servings, with 2 hr 10 min estimated total time. View the standalone recipe page.
Choose fine cornmeal and mix a thin batter
Use the fine yellow degermed cornmeal specified on the card. Coarse polenta, whole-grain meal and corn flour behave differently, so they are not interchangeable for these timing cues. Whisk the dry ingredients together before adding water so the cinnamon and salt disperse evenly. Let the batter stand briefly, then stir again because cornmeal can settle. A scale makes the water and meal ratio easier to repeat. Do not taste the uncooked mixture; the first and second bakes are both part of preparing it for eating.
Spread evenly across two lined trays
Line both rimmed trays with baking parchment and divide the batter between them. Work toward a thin, even layer across the specified area rather than a thick puddle in the center. A flexible spatula helps reach the corners without tearing the paper. Small variations are inevitable, but large differences in thickness create flakes that finish at very different times. Keep the trays level when carrying them to the oven. If batter collects at one end, redistribute it before the surface begins to set.
Use the first bake to form breakable sheets
The initial moderate bake sets and dries the batter enough to lift from the parchment. Look for a dry-looking top and the beginnings of cracks, then let the sheets cool briefly until safe to handle. Lower the oven temperature for the next stage. Peel the sheets carefully and break them into small irregular pieces. If a section still clings wetly to the paper, it needs a little longer in the first bake rather than being scraped into a thick lump. Handle hot trays with dry oven mitts.
Dry the flakes with space around them
Spread the broken pieces loosely on the same trays. Lower heat gives moisture time to escape without burning every thin edge. Stir and swap rack positions at the scheduled intervals because household ovens often brown unevenly. Remove especially thin pieces that become golden before the thicker ones. The final test happens after cooling: a dry flake should snap rather than fold. If cooled pieces remain flexible, return them for more gentle drying and cool again. Do not seal warm flakes in a container to see whether they crisp later.
Keep the dry cereal separate until serving
Allow the flakes to cool completely before storing them airtight. Steam trapped under a lid can undo the drying work and soften the batch. Keep the container away from a steaming kettle or stove, and use within five days for the intended texture. Divide the complete batch into four portions, then add the milk and banana just before eating. Store milk refrigerated and prepare the fruit close to serving. The flakes will gradually soften in milk, so pour only when the bowl is ready to be eaten.
Common questions
Why are my flakes hard in thick spots but burnt at the edges?
The batter layer was probably uneven. Spread more carefully across both trays, rotate them during baking and remove thin pieces as they finish. Thick shards need longer gentle drying, not simply higher heat.
Can I store the cereal after adding milk?
Store the dry flakes separately for their intended crispness. Milk and sliced banana make a perishable, moist mixture and quickly change the texture. Add both only to the portion you are about to eat.
Technique & food-safety references
These primary references support the technique, safety and storage guidance. The recipe and cooking explanations are original Recipe Pinboard content.