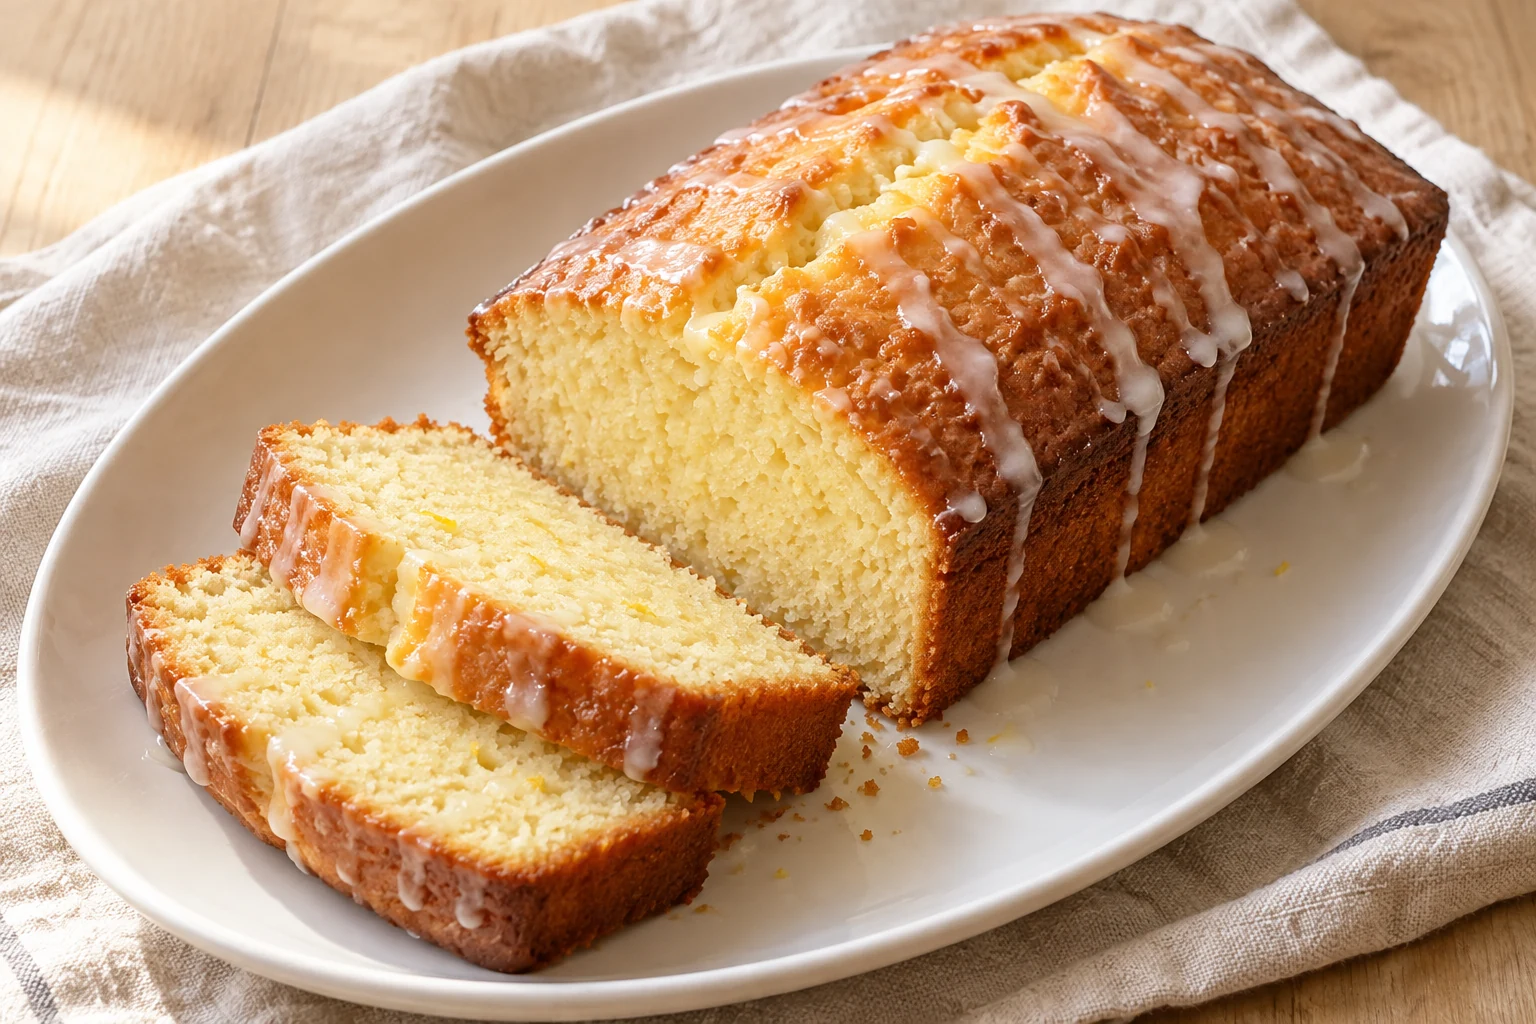
This lemon loaf gets its aroma from zest, its tang from yogurt and measured juice, and a separate sharp-sweet finish from powdered-sugar glaze. The two lemons do not mean all their juice belongs in the batter. With an 8½-by-4½-inch pan and a 45–55-minute bake, the main challenge is giving the center time to set while preserving enough cooling time for the glaze.
Lemon yogurt loaf makes 10 servings, with 2 hr 5 min estimated total time. View the standalone recipe page.
Separate the lemon jobs before mixing
Zest the lemons before juicing them, working over the colored outer peel rather than repeatedly scraping one spot into the white layer beneath. Keep zest and juice separate. The wet batter receives the zest and exactly two tablespoons of juice; the glaze later takes another one to two tablespoons.
Lemons differ in size and juice yield, so measuring is more dependable than pouring in everything squeezed from two fruits. Extra juice changes the liquid balance. Measure the three-quarter cup of plain yogurt and third cup of neutral oil separately rather than estimating them together in the mixing bowl.
Prepare the pan for a clean release
Use the separate 5 g softened butter to grease the stated loaf pan, then line it before combining the wet and dry mixtures. This pan butter is additional to the measured oil in the batter. A parchment strip that can be grasped at the sides makes lifting easier after the initial rest. Keep the lining neat enough that it does not fold deeply into the batter or obscure the corners.
Pan dimensions are useful here because they set the depth the heat must travel. The listed baking window belongs to this loaf size. A different pan should not be treated as an identical timing choice simply because the batter fits inside it.
Whisk first, fold second
Whisk the flour, baking powder and salt in their own bowl to distribute the leavener. In the second bowl, combine granulated sugar, eggs, yogurt, oil, zest and the measured batter juice thoroughly. Scrape the bowl so no dense yogurt or egg streaks remain at the bottom.
Fold the dry ingredients into that wet mixture only until incorporated. Look for hidden dry flour along the base rather than stirring endlessly at the surface. Transfer the batter to the pan and level it gently. A few small texture variations are preferable to prolonged beating after flour has been added.
Judge the crumb beneath the top
Bake at 350°F and begin testing during the 45–55-minute range. Insert a tester into the center, reaching into the loaf rather than checking only a shallow spot near the crust. Wet batter means more baking is needed. A top that looks brown does not guarantee the interior is set.
Rest the loaf in its pan for ten minutes before moving it to a rack. The hot crumb is more fragile than the cooled loaf, so support it when lifting. Do not sample uncooked batter from the bowl or from an underdone center; the flour and eggs need to be cooked.
Make a thick glaze for a fully cooled loaf
Start the half cup of powdered sugar with one tablespoon of the reserved lemon juice. Stir until smooth, then add only enough of the permitted second tablespoon to make a thick drizzle. Pouring in both tablespoons immediately leaves less control over how quickly the glaze runs.
Wait until the loaf is fully cool before glazing. A warm surface thins the mixture and encourages it to soak in or slide off. Let the glaze settle before slicing. Cover the cooled loaf for storage, separating slices if freezing them so you can take out individual portions without breaking the glaze.
Common questions
Why did my lemon glaze disappear?
The loaf may have been warm or the glaze too thin. Cool completely and add the lemon juice gradually to the powdered sugar, stopping at a thick drizzling consistency.
Should all the juice from both lemons go into the loaf?
No. Measure two tablespoons for the batter and one to two tablespoons for the glaze. Any remaining juice is outside this recipe; adding it changes the batter.
Technique & food-safety references
These primary references support the technique, safety and storage guidance. The recipe and cooking explanations are original Recipe Pinboard content.