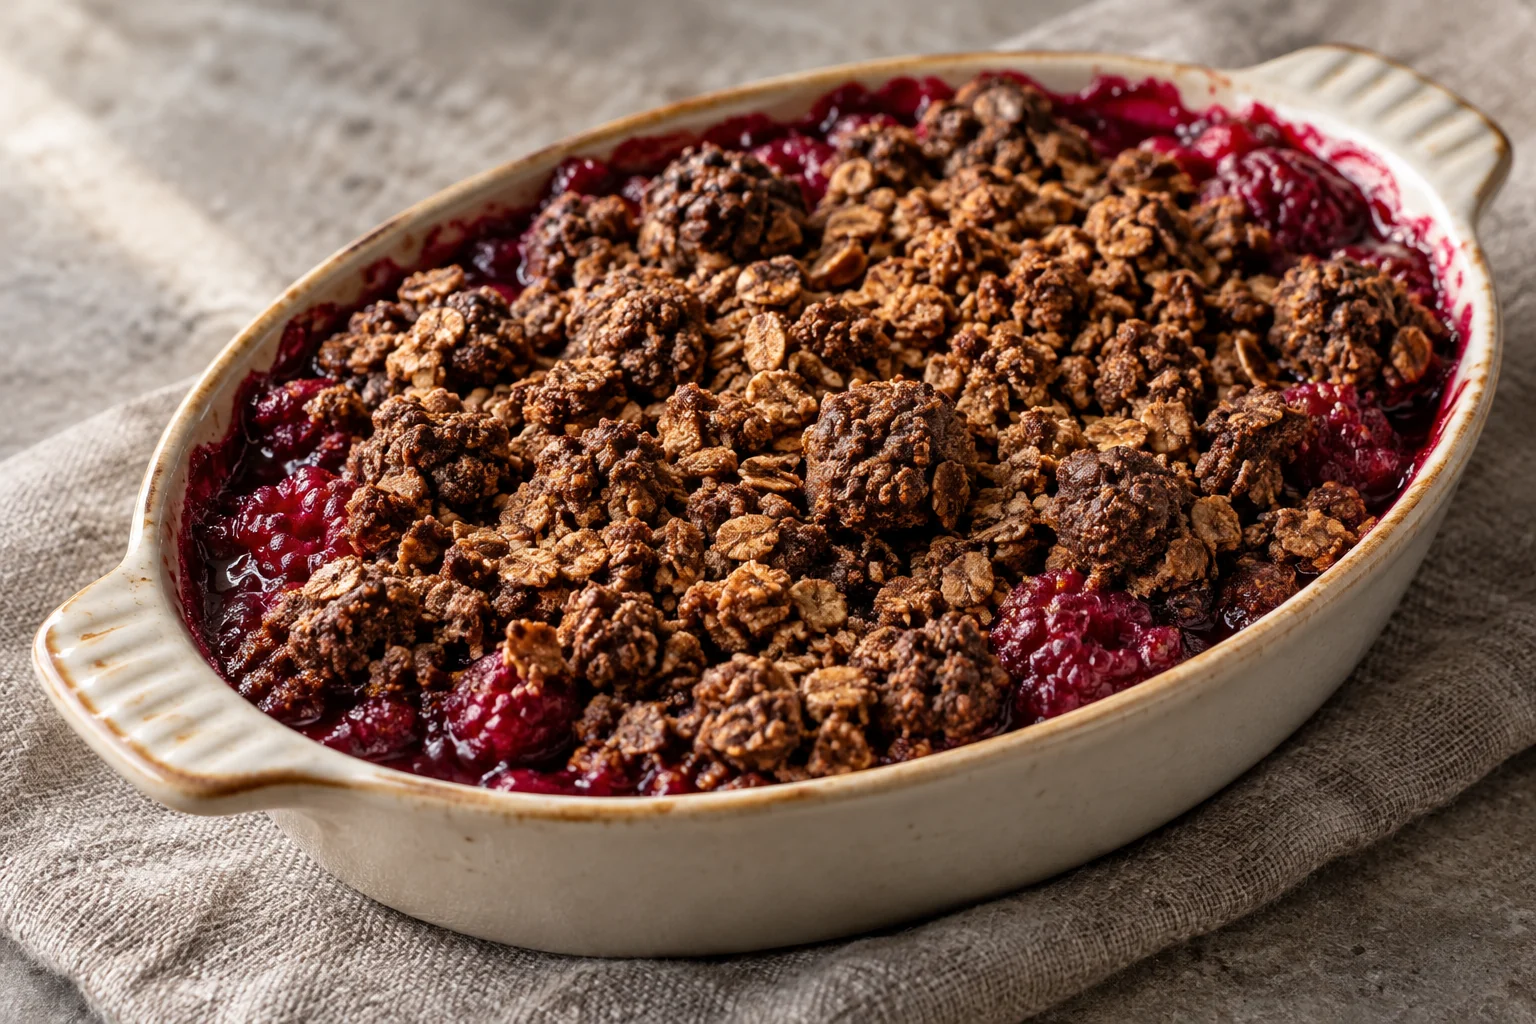
Dark cocoa makes this crumble harder to judge by browning than a pale oat topping. The more useful signs are a set surface and raspberry juices bubbling near the center, not just around the dish edge. Cold butter forms crumbs and clusters, while a short rest after baking helps the fruit layer become spoonable rather than runny.
Raspberry & cocoa oat crumble makes 6 servings, with 1 hr 5 min estimated total time. View the standalone recipe page.
Use drained fresh raspberries
Rinse the berries gently and let surface water drain before weighing them into the dish. The formula uses fresh raspberries; frozen fruit can contribute extra liquid and needs a separate timing review. Mix with the filling portion of sugar and cornstarch using a light hand so some berries remain intact. A little breakage is normal and supplies juice to moisten the starch. Do not add a splash of water simply because the uncooked fruit mixture does not look like a sauce.
Divide the sugar deliberately
The total sugar is split between the fruit and the topping. Measure the thirty grams for the berries, leaving sixty grams for the dry crumble mixture. Adding the entire amount to the fruit and then estimating another handful for the topping would change sweetness, texture and the published nutrition. Cornstarch belongs in the fruit layer, where released juices can hydrate it. Cocoa belongs in the topping, where it mixes with flour and fat rather than forming dry bitter pockets among the berries.
Rub in butter until cocoa is dispersed
Combine oats, flour, cocoa, topping sugar and salt before adding cold butter cubes. Rub or cut the butter through until the mixture has both fine crumbs and small clusters. Check the bottom of the bowl for loose cocoa or flour. Those powdery areas will not necessarily find enough moisture in the oven. The topping should remain crumbly; warming it into a smooth paste and pressing it over the fruit would create a denser lid that traps steam differently.
Leave small gaps for bubbling juices
Scatter the entire topping over the berries without compacting it into a continuous slab. Small spaces allow fruit juices and steam to emerge. Use the stated shallow dish size or a similar-volume shape so the fruit depth stays reasonable. Near the end of baking, look toward the center as well as the perimeter. Edge bubbling alone can happen while the middle is still relatively cool. Since cocoa is already dark, surface color is an unreliable substitute for checking that the filling has heated throughout.
Rest before dividing
The fifteen-minute cooling interval is included in the total time. During that pause, bubbling subsides and the thickened juice becomes easier to serve. Divide the complete dish into six equal portions, sharing fruit and topping rather than taking mostly crust from one side. Ice cream, cream or chocolate chips are not included in the estimate. This version contains wheat flour and butter, so its vegetarian label does not imply vegan, dairy-free or gluten-free suitability. Refrigerate promptly once portions have been served.
Common questions
Why is the crumble dusty on top?
The butter may not have been distributed through the cocoa and flour, leaving dry pockets. Rub the mixture more evenly before baking. Adding liquid to an already baked topping does not reproduce the intended crumb texture.
Why is the filling still runny?
It may have bubbled only at the edges or been served immediately. Check the center during baking and allow the full rest. A deeper dish or wetter fruit can need additional time; do not double the starch without reviewing the formula.
Technique & food-safety references
These primary references support the technique, safety and storage guidance. The recipe and cooking explanations are original Recipe Pinboard content.