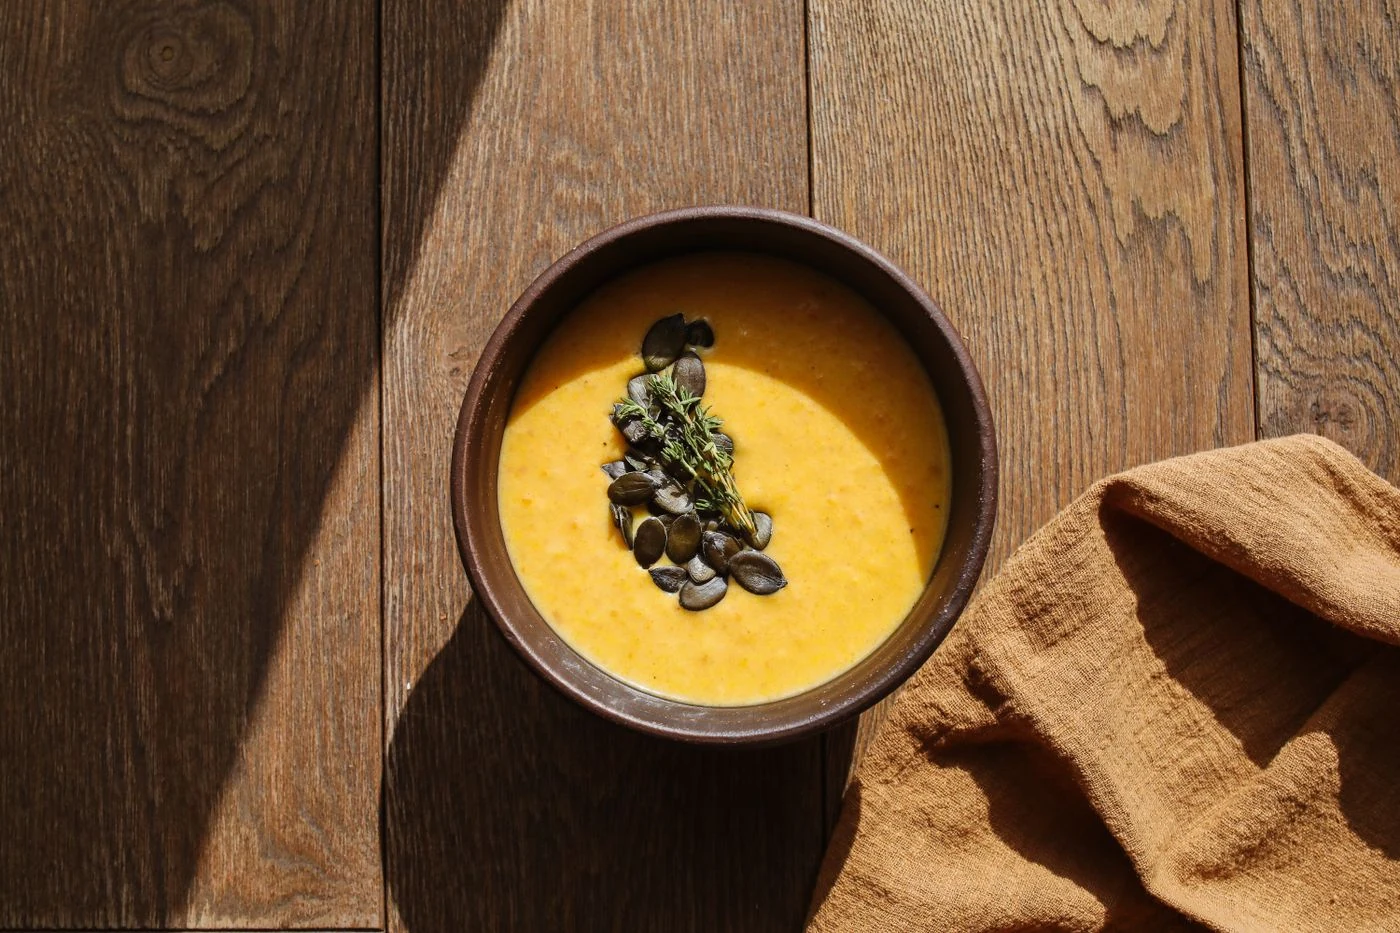
This pumpkin soup gets its roasted character before anything is blended. Small pumpkin cubes cook on a tray while onion softens in a saucepan, then the components meet for a short simmer. Cream is stirred in at the end and pepitas provide a separate crisp topping. The sixty-five-minute recipe makes four bowls from 800 g prepared pumpkin, not an 800 g whole pumpkin.
Roasted pumpkin & thyme soup makes 4 servings, with 1 hr 5 min estimated total time. View the standalone recipe page.
Weigh prepared pumpkin and cut consistent cubes
Use cooking pumpkin, with peel and seeds removed before weighing the 800 g needed. A large decorative pumpkin is not automatically equivalent in texture to one intended for cooking. Work on a stable board and cut the prepared flesh into two-centimeter cubes. Large wedges alongside tiny cubes would make the roasting check unnecessarily uneven.
Heat the oven to 425°F/220°C before the tray goes in. Toss the pumpkin with 14 g olive oil and half the salt, spreading the cubes in one layer on a rimmed sheet. The pieces need visible space between them. A deep mound traps released moisture and makes the tray behave more like a steaming dish than a roasting surface.
Roast for tenderness as well as edge color
Roast for twenty-five to thirty minutes, turning once. Turn with a broad spatula that reaches underneath the cubes rather than stirring only the top of the pile. A few browned edges are useful, but check that the centers are tender enough to blend. Dark corners do not guarantee that a large piece has softened all the way through.
Meanwhile cook the chopped onion in the remaining oil for eight to ten minutes over medium heat. Keep it moving occasionally so it softens evenly without developing harsh burnt edges. Add garlic and thyme leaves for thirty seconds once the onion is ready. The herb leaves go into the soup; the four small sprigs are reserved for serving.
Simmer the roasted pumpkin in the broth
Add the broth, roasted pumpkin and remaining salt and pepper to the onion saucepan. Scrape in the pumpkin carefully without splashing hot liquid. Simmer for eight minutes to bring the components together before blending. Keep the reserved hot water separate at this point so you can judge the final thickness after the vegetables have been processed.
During the simmer, toast the shelled pumpkin seeds in a dry skillet over medium-low heat for three to four minutes, shaking often. Transfer them to a plate as soon as they smell toasted. Leaving them in the hot pan continues their cooking, even with the burner off, and can turn a pleasant crunchy garnish bitter.
Blend safely in the appropriate equipment
Remove the saucepan from the heat before using an immersion blender. Keep its head submerged while running and move it around the pot to reach remaining pieces. Stop the motor before lifting it out. This controls splashes and gives you a chance to inspect the texture without spraying hot soup over the counter.
For a countertop blender, let the soup cool slightly and work in small batches following the machine's hot-liquid instructions. Vent the lid as directed and cover with a folded towel; never seal hot soup into an unvented container. If a blender is not approved for hot liquids, do not improvise a sealed-blending method. Smoothness is not worth a pressure or scalding hazard.
Add cream and adjust only as much as needed
Stir the cream into the blended soup, then add the measured hot water gradually, up to 150 ml, until the soup pours comfortably from a ladle. Pumpkin varies in moisture, so the entire allowance may not be necessary. Check after each small addition instead of making it thin and trying to boil the water back out.
Warm gently for two to three minutes without a hard boil, then divide into four bowls. Add one quarter of the pepitas and a thyme sprig to each. Keep the seeds on top until serving so they retain more crunch. The small woody sprig is a garnish to remove before eating, unlike the thyme leaves already blended into the soup.
Common questions
Why is my pumpkin soup too thick?
The pumpkin may have lost more moisture during roasting. Stir in the reserved hot water gradually after blending and adding cream, stopping at a pourable consistency rather than automatically using all 150 ml.
Can I seal hot soup in a personal blender cup?
No. Do not seal hot soup in an unvented blender. Use an immersion blender or follow a countertop machine’s approved hot-liquid procedure with small batches and the required venting.
Technique & food-safety references
These primary references support the technique, safety and storage guidance. The recipe and cooking explanations are original Recipe Pinboard content.