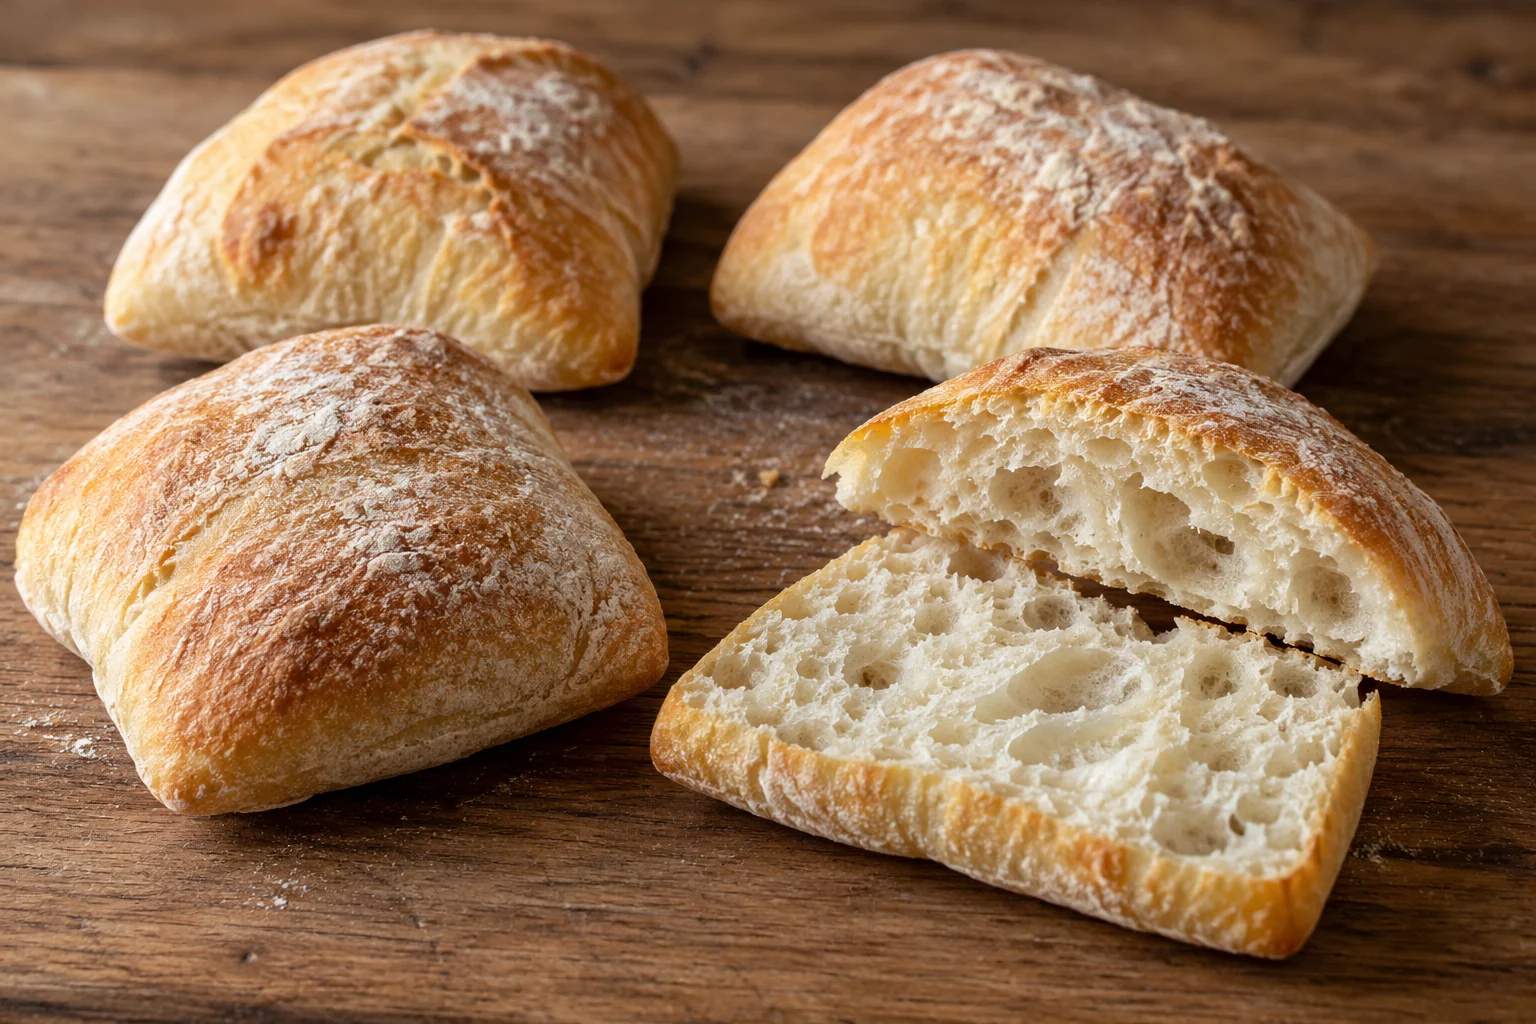
These rolls begin with a dough that is deliberately wetter than a typical kneaded sandwich loaf. Folds build structure while rests allow the dough to relax and rise. The final pieces are cut into rustic rectangles rather than tightly shaped into balls. This is a same-day yeast method with no sourdough starter or overnight preferment. The generous total includes the rack-cooling period needed before the open crumb can be sliced cleanly.
Same-day ciabatta rolls makes 6 servings, with 6 hr estimated total time. View the standalone recipe page.
Keep the flour allocations separate
The main dough uses 300 g flour with 240 g water. The remaining flour is reserved for the work surface and roll tops; adding it during initial mixing changes the handling the method is designed around. Weigh the two allocations separately if that prevents confusion. Start with the yeast activation described in the card, then stir the dough until there are no dry pockets. Its sticky appearance is expected. Do not keep feeding it flour in an attempt to make a firm kneading dough.
Fold gently during the early rests
At each fold set, lift an edge only as far as it stretches comfortably and bring it across the center. Work around the bowl, then cover again. The purpose is controlled development, not tearing or squeezing out every bubble. A wide bowl makes the edges easier to reach. Use the measured handling oil rather than repeatedly adding more. Early folds may feel loose; compare the dough across the successive sets rather than expecting the first fold to behave like a finished loaf.
Wait for visible expansion
The rest after the final fold lets the dough become puffy and bubbly. Temperature and yeast condition influence this stage, so a quiet, unchanged mass should not be divided simply because the timer has sounded. Keep it covered to prevent a dry skin. The full schedule allows six hours, with room for ordinary handling and cooling, but a cool kitchen can require more. Conversely, a very warm room calls for closer observation rather than mechanically waiting through every maximum time.
Cut without tightening the pieces
Use the reserved flour and a scraper to ease the dough onto the work surface. Pat only enough to make a rectangle that can be divided evenly. Cut with a straight downward motion, then transfer each piece with support underneath. Avoid stretching the pieces into long thin strips or rounding them tightly like dinner rolls. They are supposed to have irregular rectangular outlines. Keep the six portions reasonably equal so their centers finish baking at a similar time and the serving basis remains meaningful.
Bake the crust and cool the crumb
Leave space between the rolls on the tray for expansion. Check both color and center temperature toward the end of baking; a pale soft exterior is not the finished target here. Move the rolls to a rack so steam escapes underneath. Splitting them immediately can compress the moist crumb and make the interior seem underdone even after sufficient baking. The flour left on the work surface is brushed onto the rolls before baking, keeping the complete measured allocation with the food.
Common questions
Can I knead this until it stops sticking?
That is not the method used here. The wet dough is handled with a spoon, a scraper and folds. Adding enough flour to make it comfortable for conventional kneading changes the balance and can produce a tighter crumb than intended.
Why did the rolls spread sideways?
Wet dough needs strength from the folds and careful handling during division. Check that the main dough flour and water were weighed correctly, complete the fold sequence, and support each piece with a scraper. Avoid stretching the portions thin while transferring them.
Technique & food-safety references
These primary references support the technique, safety and storage guidance. The recipe and cooking explanations are original Recipe Pinboard content.