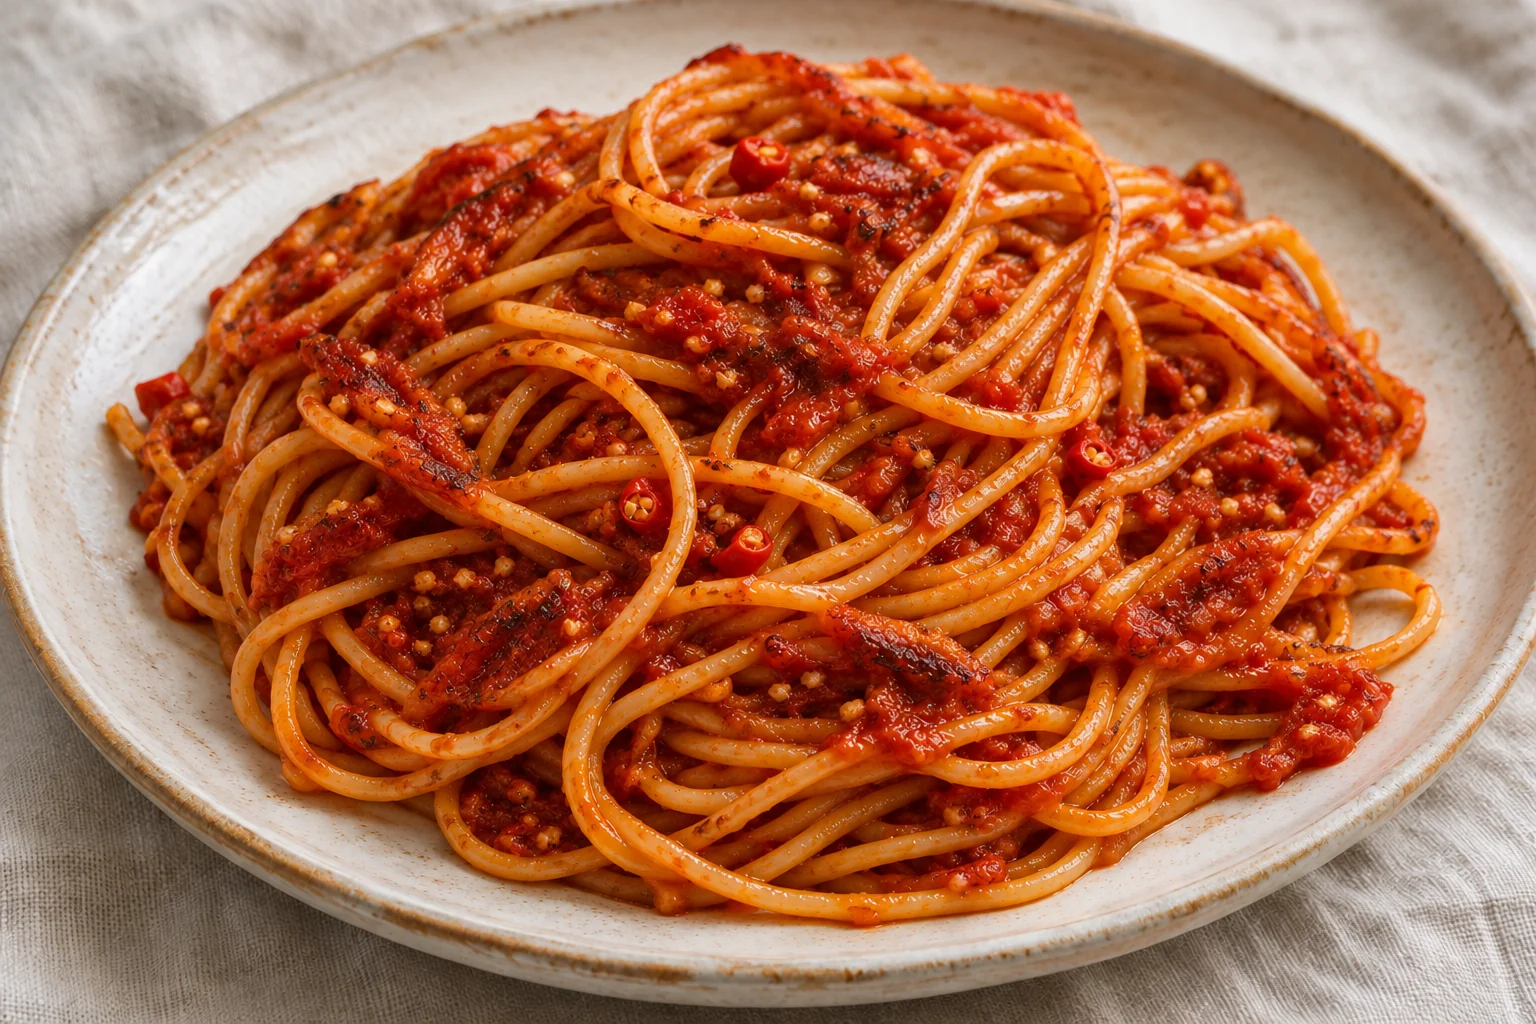
This spaghetti cooks in gradually added tomato broth instead of a separate pot of boiling water. The wide skillet lets the sauce concentrate and gives some strands toasted, deep reddish-brown patches. The process needs attention: there is a useful interval between a fragrant sizzle and an acrid burn. Keep the broth hot, use a pan that fits the dry strands and expect to adjust the burner as the pasta changes from rigid to flexible.
Skillet-charred tomato spaghetti makes 4 servings, with 55 min estimated total time. View the standalone recipe page.
Choose the pan before heating the oil
The dry spaghetti should lie across the skillet rather than standing in a mound with its ends above the liquid. A heavy twelve-inch pan gives the intended surface area and steadier heat. An undersized saucepan makes the method much harder because liquid pools deeply while only a small area touches the bottom. Have tongs and a ladle ready, and keep the simmering tomato broth within comfortable reach. Clear space beside the stove so you can move the skillet off a hot burner quickly if the sauce begins to scorch.
Keep garlic small and its first cooking brief
Finely chopped garlic spreads its flavor through the oil without leaving large pieces that may remain harsh or burn on one face. Warm it with the chopped chili only briefly before adding the spaghetti and first broth portion. Watch the garlic closely: blackened pieces taste bitter and are not the goal of this dish. The first wet addition moderates the pan's heat as the spaghetti begins to toast. Lower the burner if the sizzling becomes aggressive. There should be no need to send smoke through the kitchen to create browned pasta.
Add hot broth in stages as the strands soften
Use the measured broth a portion at a time, allowing most of each addition to absorb or evaporate before adding more. Cold liquid repeatedly stalls the cooking, which is why the saucepan stays gently hot. At first, turn the rigid strands carefully so they do not snap unnecessarily. As they soften, spread them back across the skillet after each turn. Do not pile everything in the center. The outer strands need access to liquid too, and uneven distribution can leave some pieces soft while others still have a hard core.
Alternate brief contact with careful turning
Once the pasta is flexible, short undisturbed intervals help the sauce cling and brown where it touches the pan. Then lift and turn with tongs to expose another area. Constant stirring prevents those patches; leaving the pan unattended risks burning the garlic and tomato. Listen for a moist sizzle and watch the color move toward deep red-brown. If an acrid smell appears, reduce heat immediately and add the next broth portion. The finished pasta should be tender with a slight bite, not crunchy because its center never hydrated.
Finish with clinging sauce and serve promptly
Use all the prepared broth and allow the last portion to reduce until the sauce coats the strands without collecting in a large puddle. Taste a strand from the thickest part of the pile to judge its center. Different spaghetti thicknesses and burner strengths can shift the final minutes, so the range is more useful than a single promised time. Divide the entire skillet among four plates and serve immediately. Refrigerate leftovers within two hours and use within three to four days. Reheat to 165°F with a little water, knowing the toasted texture will soften.
Common questions
Why is the pasta sticking before it becomes tender?
The pan may be too hot or the next liquid addition may be overdue. Reduce heat and add hot broth before the sauce becomes acrid. Spread and turn the strands so all of them contact the cooking liquid.
Should the finished spaghetti look black?
No. Aim for scattered deep reddish-brown toasted patches and a rich tomato coating. Blackened garlic or an acrid smell indicates excessive heat. Controlled browning gives contrast without making the dish taste burnt.
Technique & food-safety references
These primary references support the technique, safety and storage guidance. The recipe and cooking explanations are original Recipe Pinboard content.